July 14, 2017
Flight Pre-Departure Checks: Flight Departure Processes Part 2
In Part 1 of our flight departure processes series, we laid the groundwork to set ourselves up. In this post, we will go through your flight pre-departure checks. This includes engine starts, taxi checks and run-up checks. Following these checks we’ll be heading to the runway.
Perfect priming
Let’s start our flight pre-departure checks with the most important thing. Safety. Crack open the window and say, ‘CLEAR PROP’. Make sure you give people time to stand clear and scan the area before you move on with your other procedures.
Next, place one hand on the throttle and start cranking the starter, but for no longer than ten seconds each time. If the engine does not fire within 10 seconds, stop cranking right away and wait a minute so the starter motor can cool down. Try some light priming when you’re ready to have another go—it works wonders.
When the engine fires, release the starter promptly. If you’re flying a plane with a fuel-injected Lycoming engine, adjust the mixture to full rich.
Green means go
After a successful engine start, you will need to check that the oil pressure is rising (or has correctly risen) into the green range. This is crucial because oil pressure indicates whether metal components in the engine are sufficiently lubricated.
If oil pressure is not within the green range, shut the engine down immediately and report this to the engineer.
As long as the pressure looks good, you can raise the flaps (if left down after pre-flight), turn on the taxi and navigation lights, and turn on the avionics master switch. Only now should you don and adjust your headsets.
Eyes forward
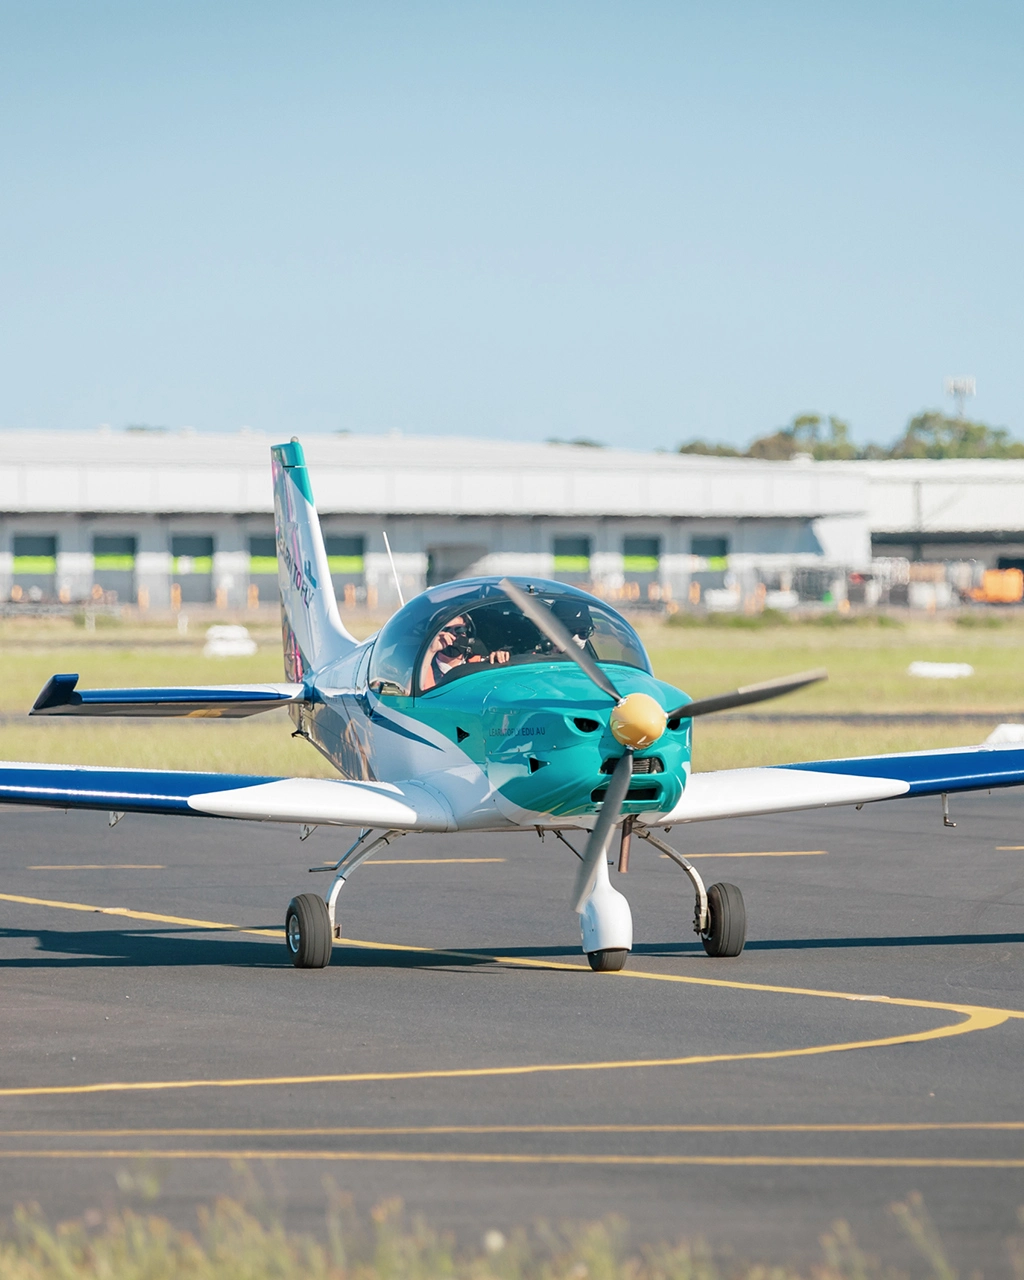
When taxiing, you should aim to minimise the time you spend with your head down – literally so you don’t bump into anything.
It has become normal for pilots to use GPS devices and iPads (used to run apps like OzRunways) in the cockpit. It is ironic, therefore, that when we attempt to program devices while taxiing we put ourselves at risk of having an accident.
The only exception I make to this rule of my flight departure process is to check the turn instruments. I like to quickly glance down and ensure that:
The slip ball is deflecting properly
The turn coordinator is indicating correctly
The direction gyro turns in the proper direction
The attitude indicator stays erect
The magnetic compass turns in the proper direction.
Remember the CIGAR acronym
I like to do my run-up checks using the acronym ‘CIGAR’. Here is how it works:
Controls – full and free and control surfaces deflect correctly
Instruments – all in the green range, the ammeter is charging and the suction is in the green range
Gas – check the mixture and fuel selector
Airframe – secure the canopy, doors and windows, and make sure your parking brake is on
Run-up – set the correct run-up RPM, check the brakes, check the magnetos, note when the RPM drops (on the Sling with the 912iS engine, one must check that both engine fuel pumps are working), pull the throttle to idle and ensure the engine does not seize at idle
After the run-up, the engine should be set to the ground idle speed as recommended in the POH.
Thank you to student pilot Howard Lau for contributing this great series on flight departure procedures. Stay tuned for the third and final instalment coming soon, as we head to the runway!
Find out what it feels like to take to the sky! Email hello@learntofly.com.au or visit https://drift.me/learntofly/meeting to book a meeting and school tour.


