-->

Pilot and Aircraft Safety at Learn To Fly

At Learn to Fly, pilot and aircraft safety is and always will be our number one priority. It is the cornerstone of our operation, and we strive to maintain a positive and transparent safety culture.  We continue to uphold an impeccable safety record as conveyed on the Recreational Aviation Australia (RAAus) Accident and Defect Summaries. 

The safety culture at Learn to Fly acknowledges that flying and flight training involves risk. It’s vital that students and instructors alike are educated about these risks and the processes involved in risk minimisation.

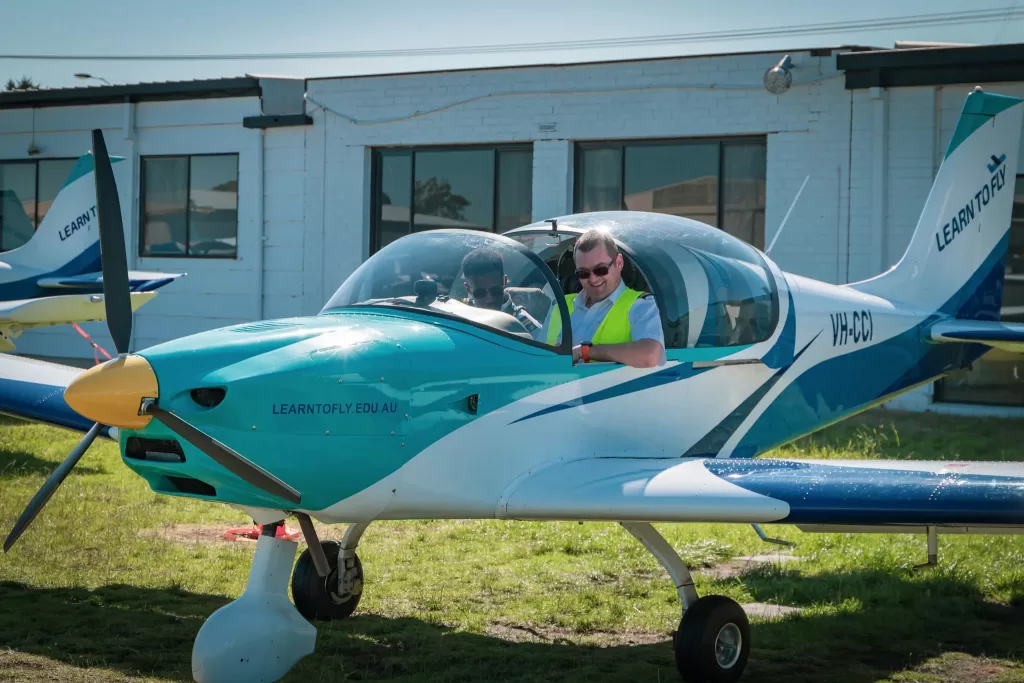
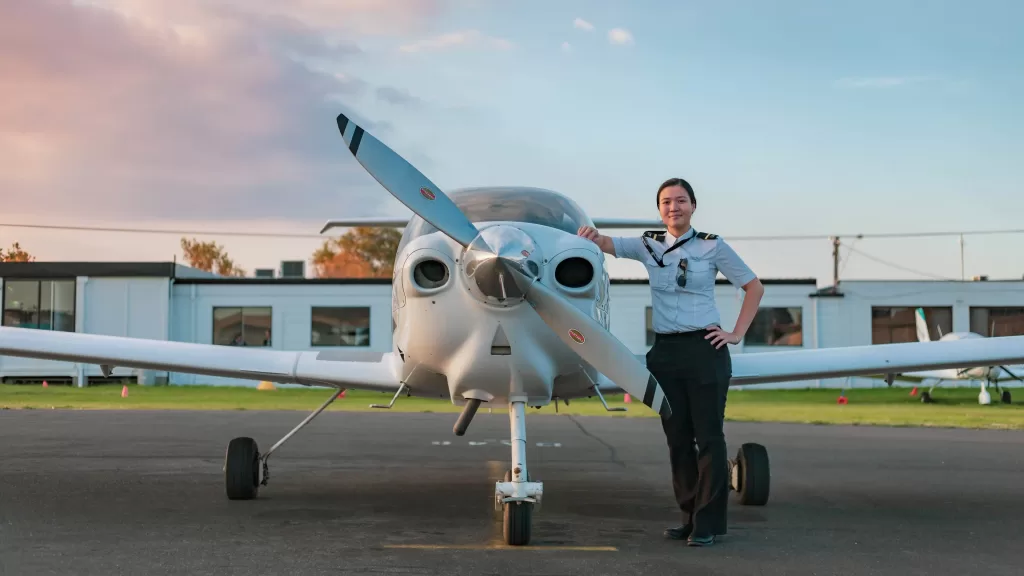
See how we carry out pilot and aircraft safety in our flight training operations at Learn To Fly.

Aircraft Maintenance

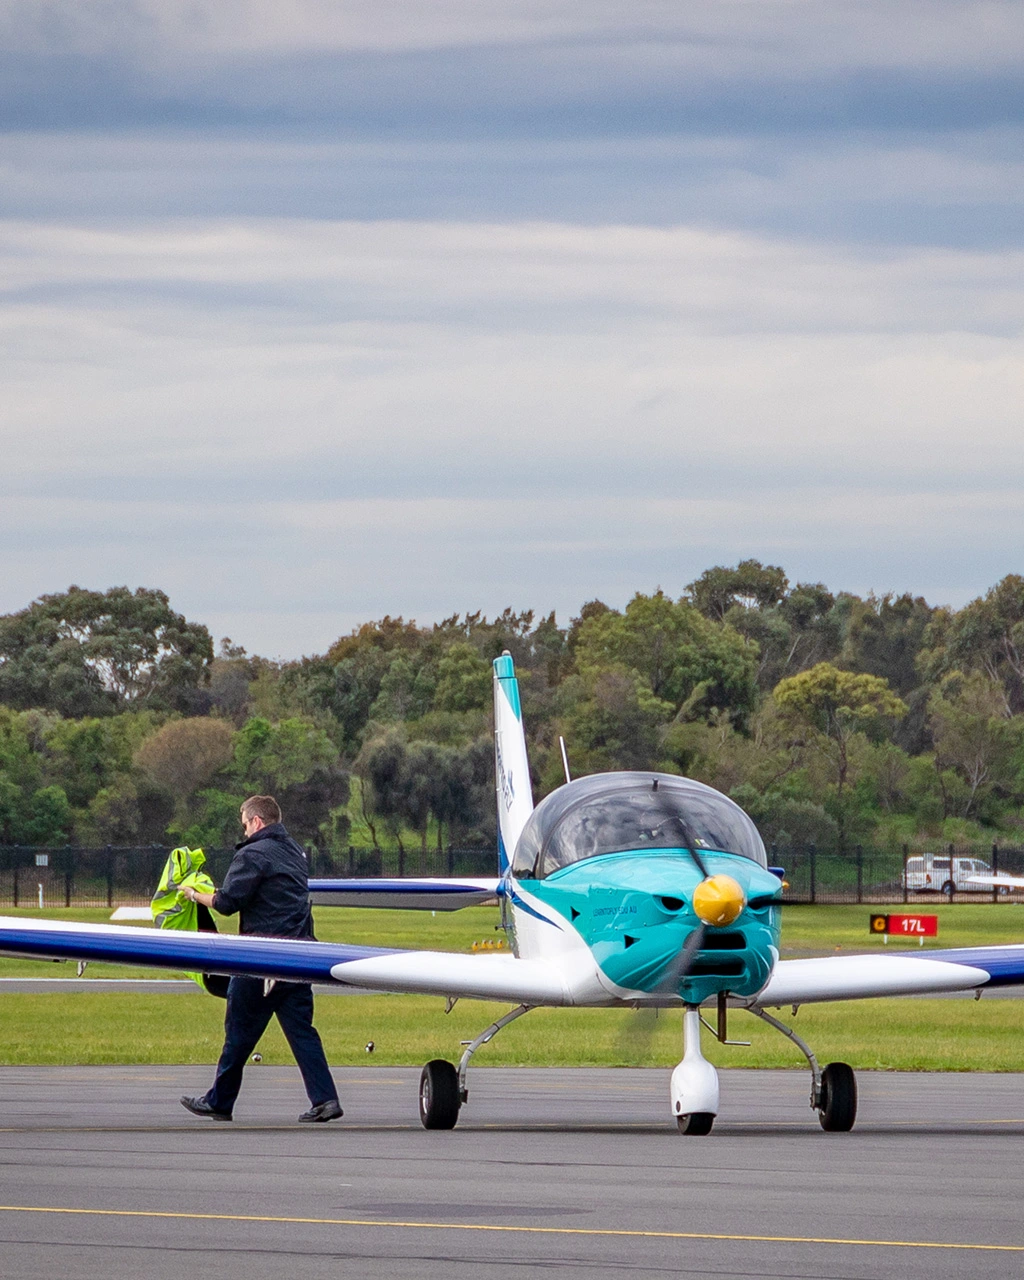
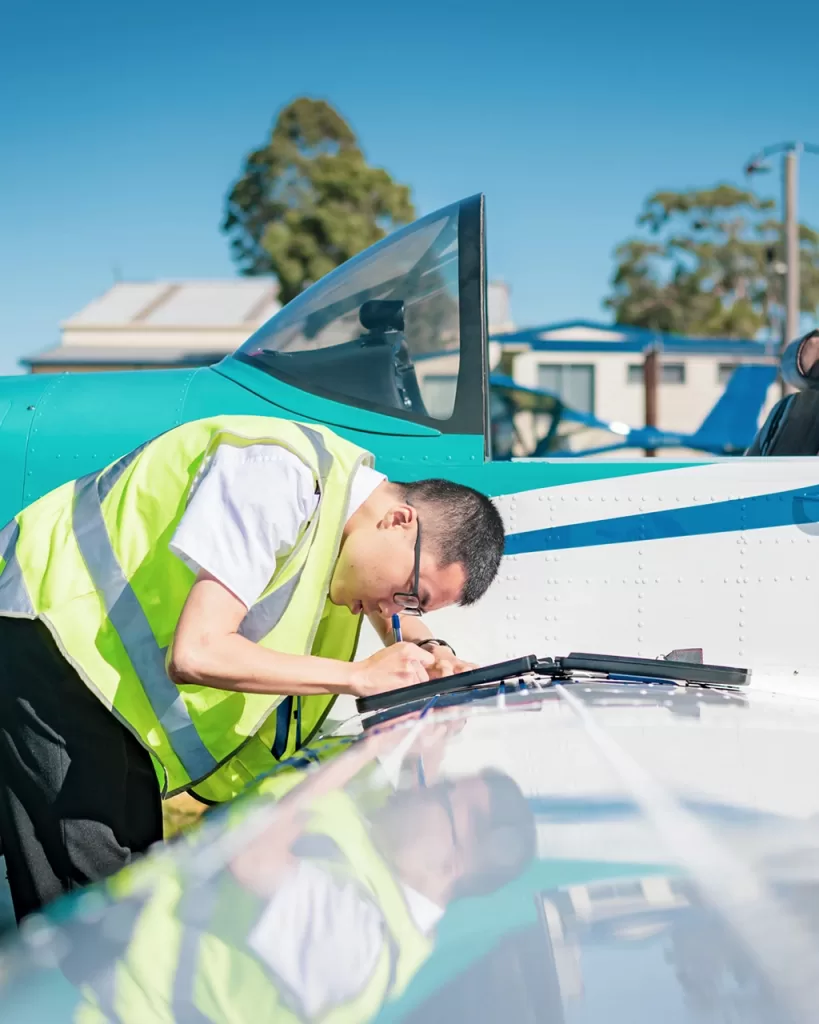
Each aircraft requires maintenance checks for every 50 and 100 hours of flying. All scheduled maintenance is planned in advance. We will never undertake any flights or flight training on planes requiring maintenance.

Pilots and engineers can write up a defect on the aircraft’s Maintenance Release (MR) at any time. For serious defects, the aircraft will immediately become unserviceable and simply will not go flying until maintenance is completed.

The Maintenance Release is required to be signed by a pilot (instructor or pilot certificate holder) before the first flight of each day to ensure that the aircraft has passed the daily inspection requirements and is suitable to fly.

Instructor Qualifications

Pilot and aircraft safety for us also means company standards require that instructors at Learn to Fly be well-trained. We will only employ instructors who we are confident, focused, alert and ready to respond immediately to any potential situation where the risk outweighs the learning opportunity.

Based on the current guidelines, all of our flight instructors are at an RAAus senior instructor level. This rating can only be achieved if the pilot accumulates certain flight training experiences and passes a flight test that is conducted by external RAAus certified flight testing officers.

Some of our students may become junior instructors when they graduate. However, it is a compulsory requirement that they are supervised by senior instructors when they work at the school.

In addition to this, our chief flying instructor (CFI) actively supervises all flight training operations and consistently checks training records and documentation. This ensures that Standard Operating Procedures (SOPs) are complied with for both instructors and students. SOPs compliance is checked at various times. This is usually by attending flights with students to confirm SOPs are maintained, and ensuring all instructors have current qualifications.
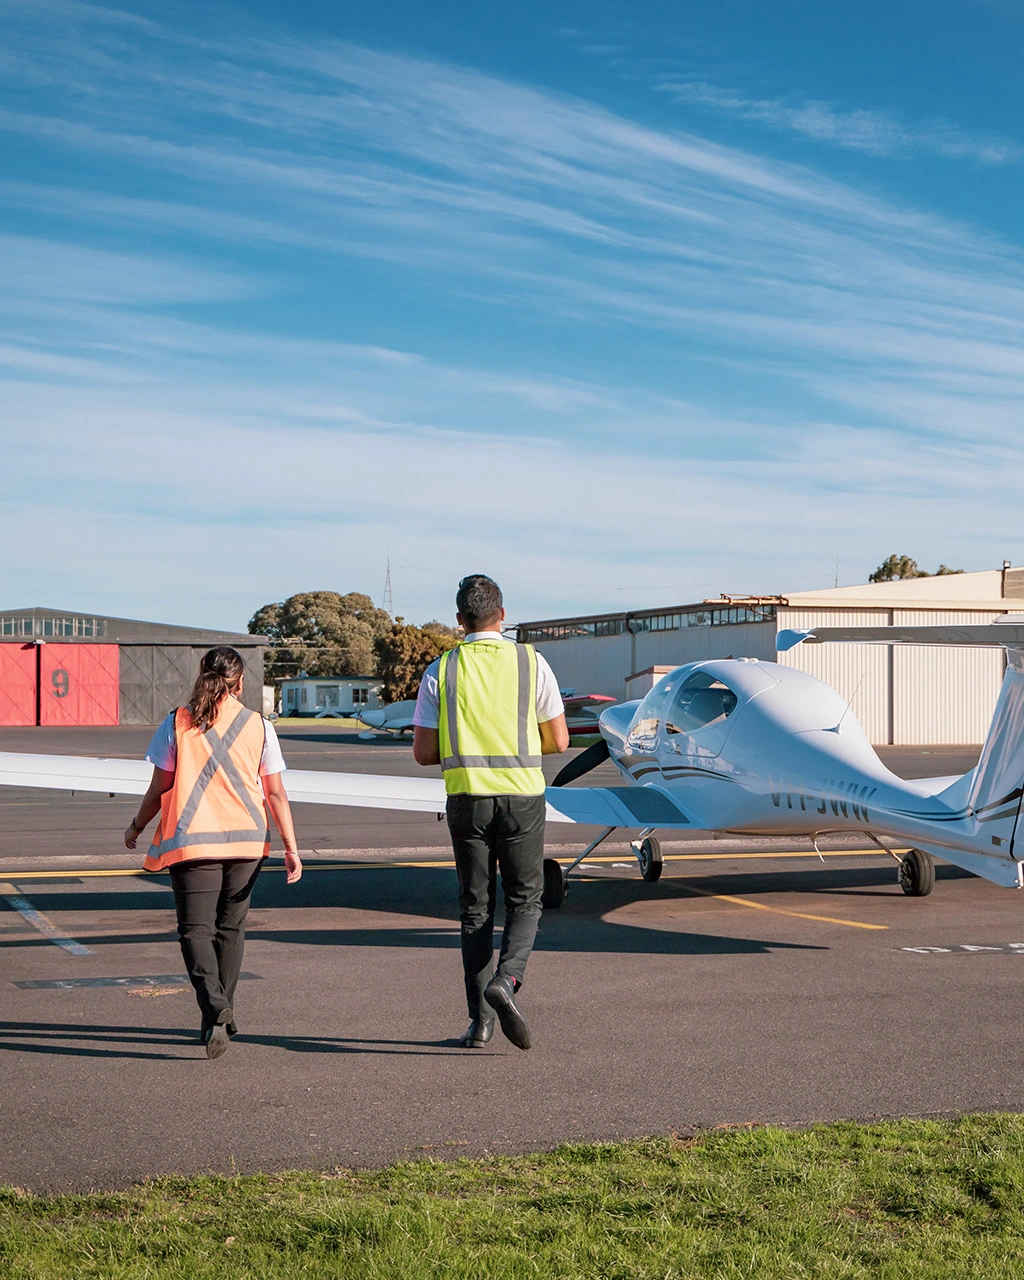
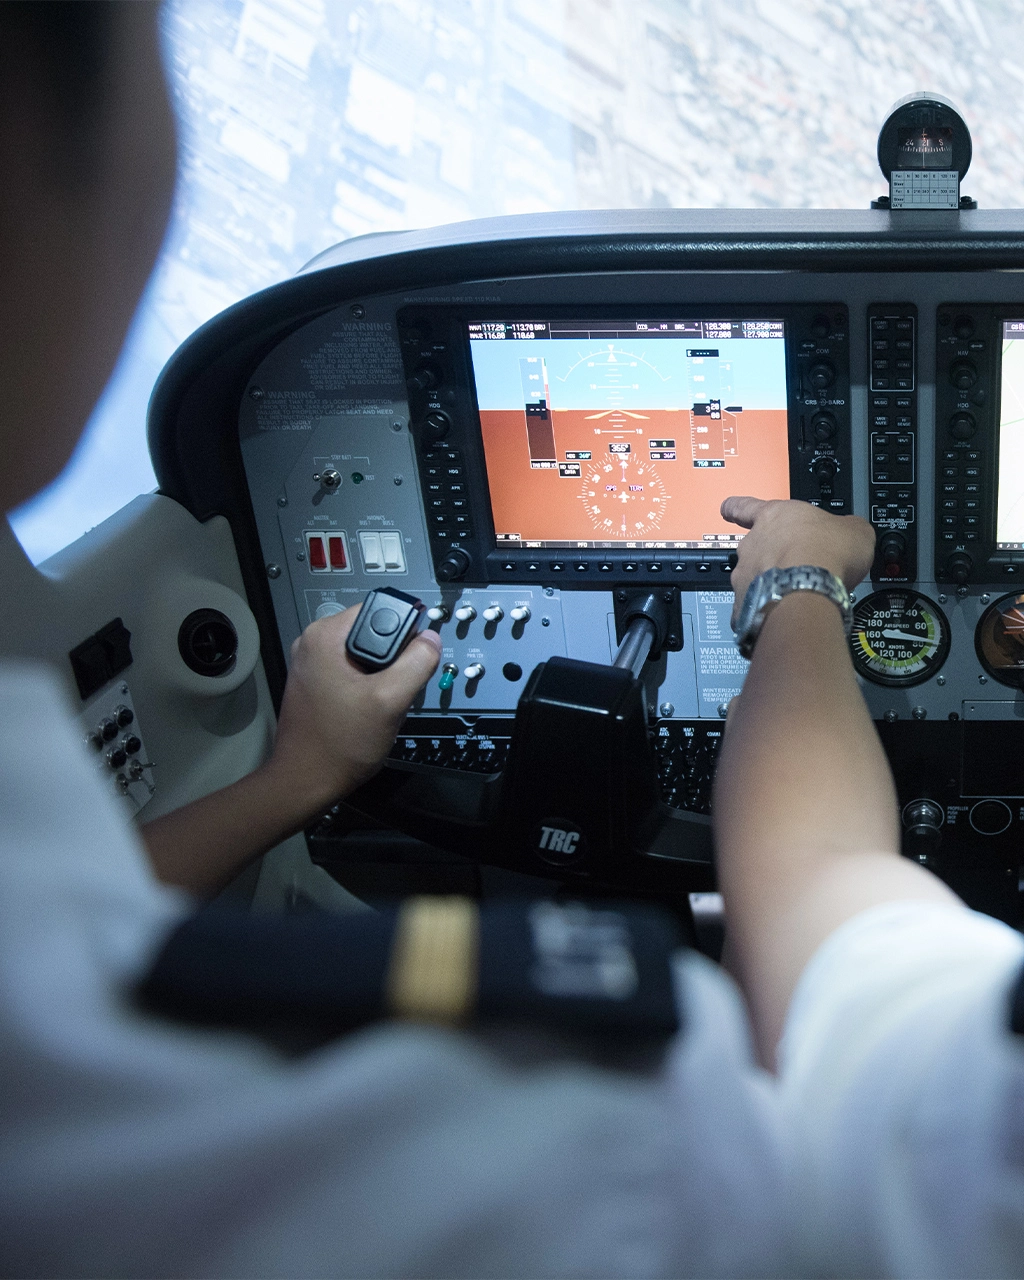
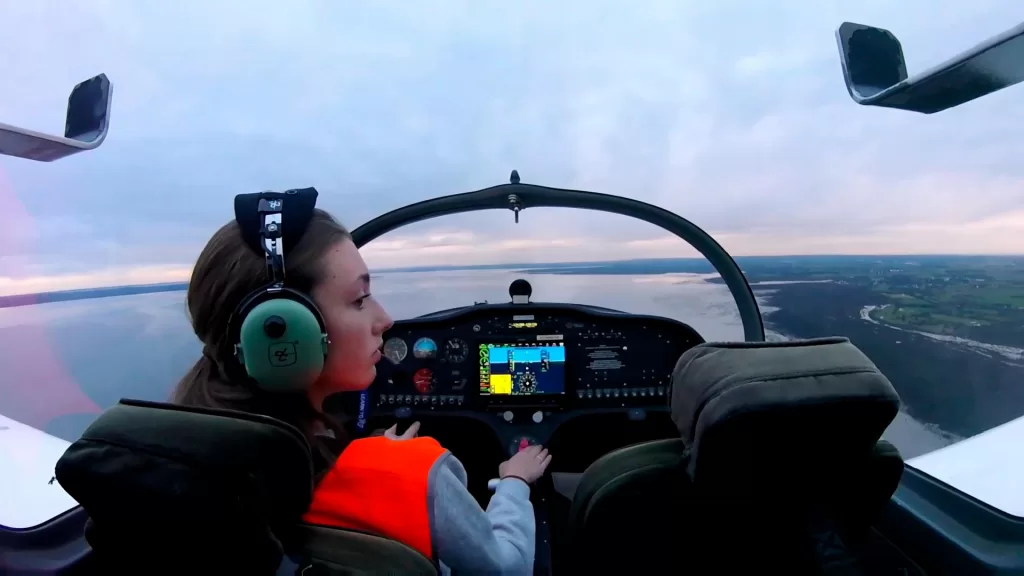
Flight Training

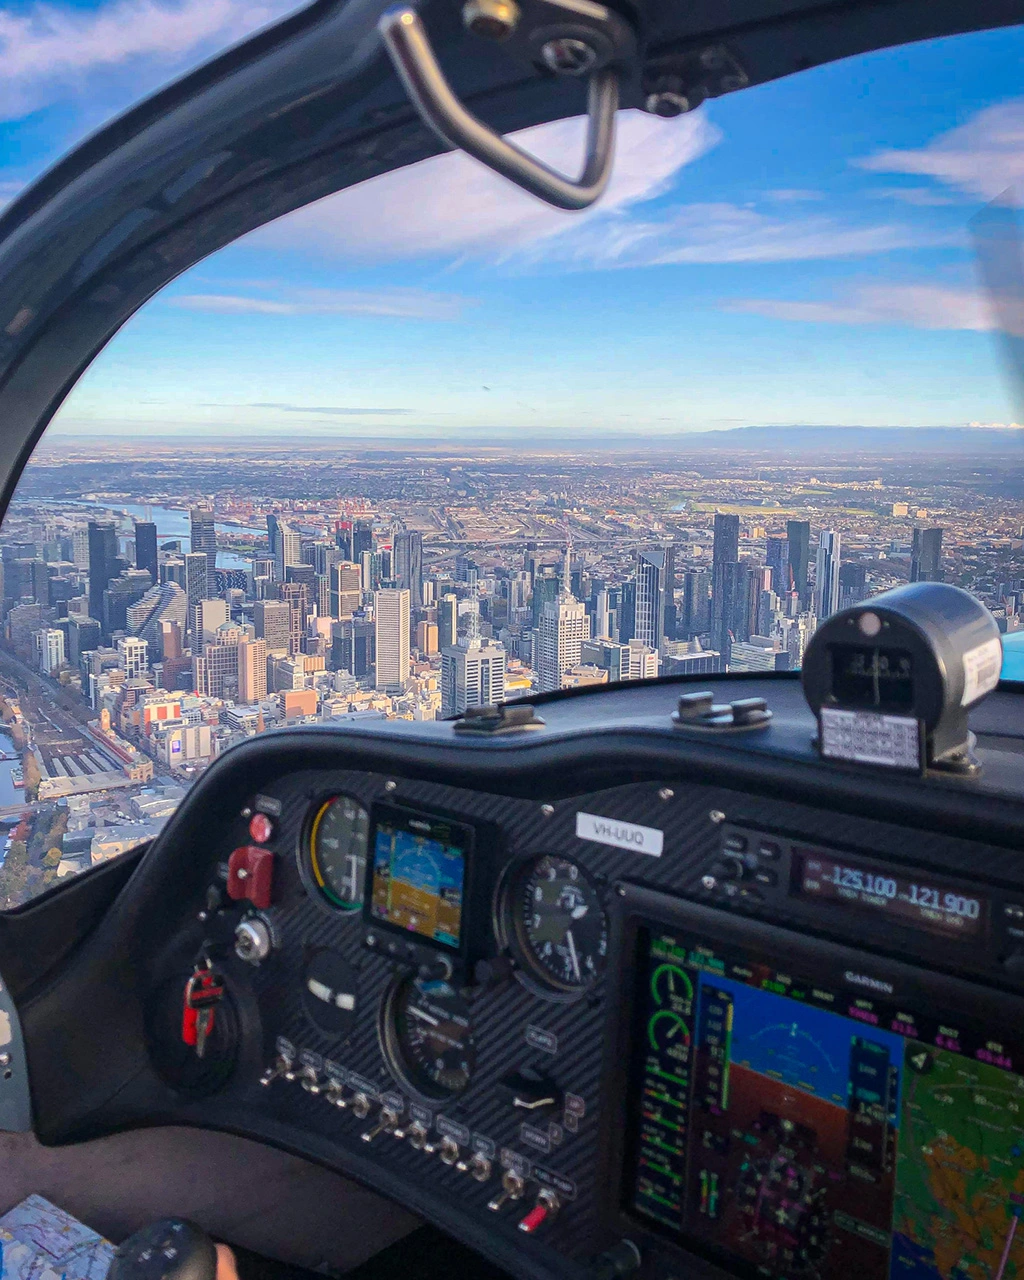
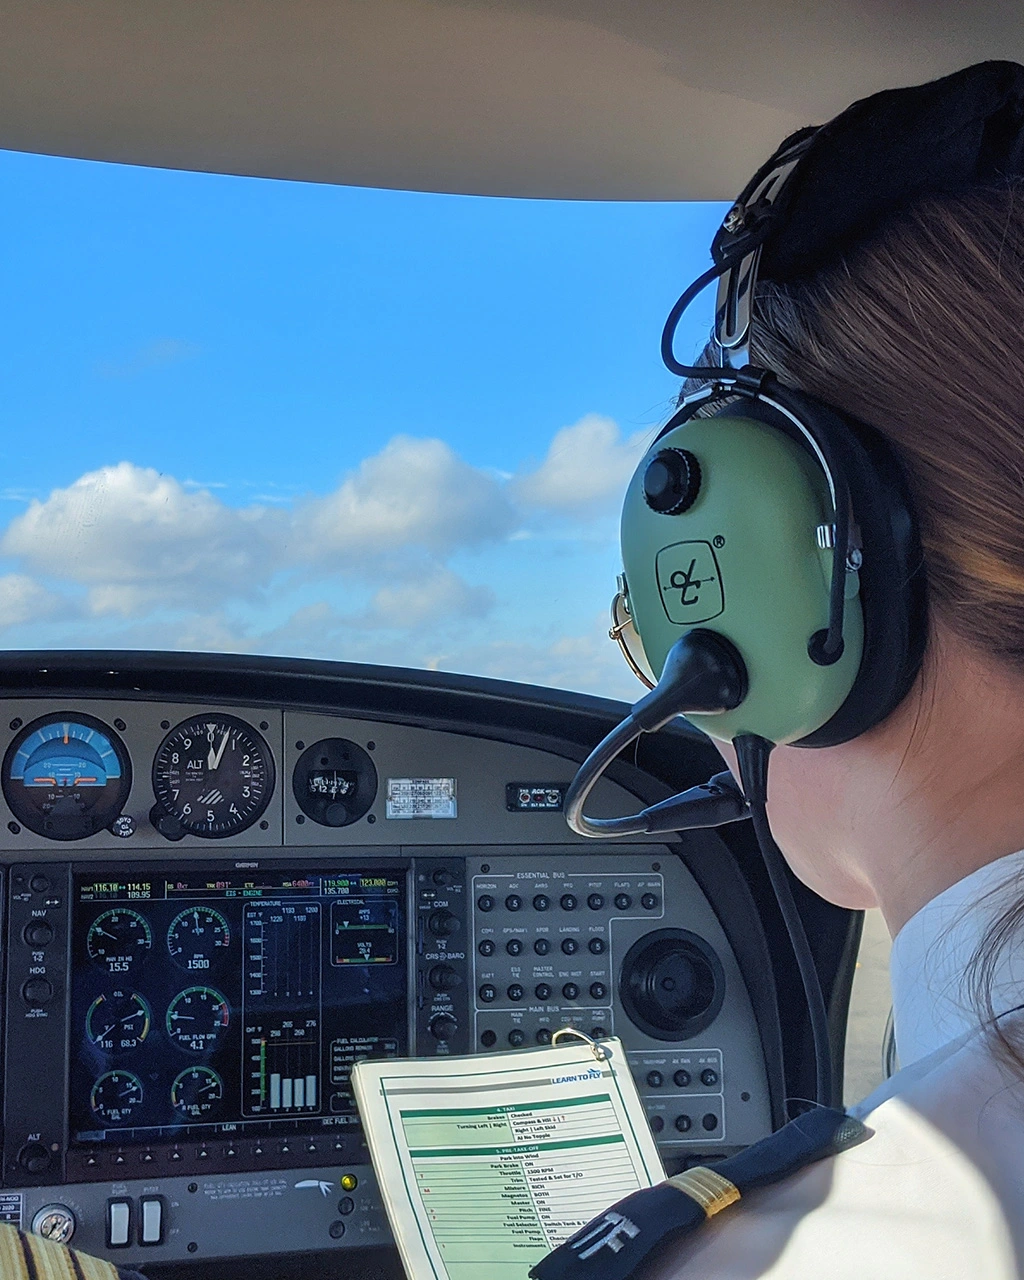
We ensure a safe learning environment every time.  A student will not fly if the weather is not suitable for that particular lesson. For solo flights, these standards will be even stricter and reflect considerations such as turbulence, wind speed, daylight, student’s abilities etc so that we can provide

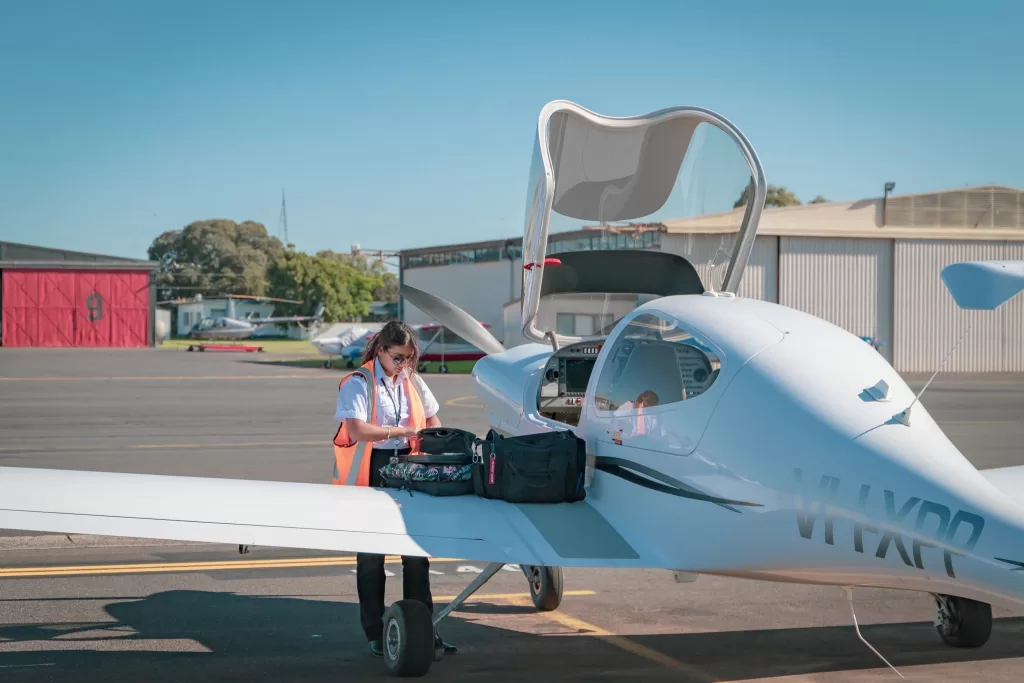
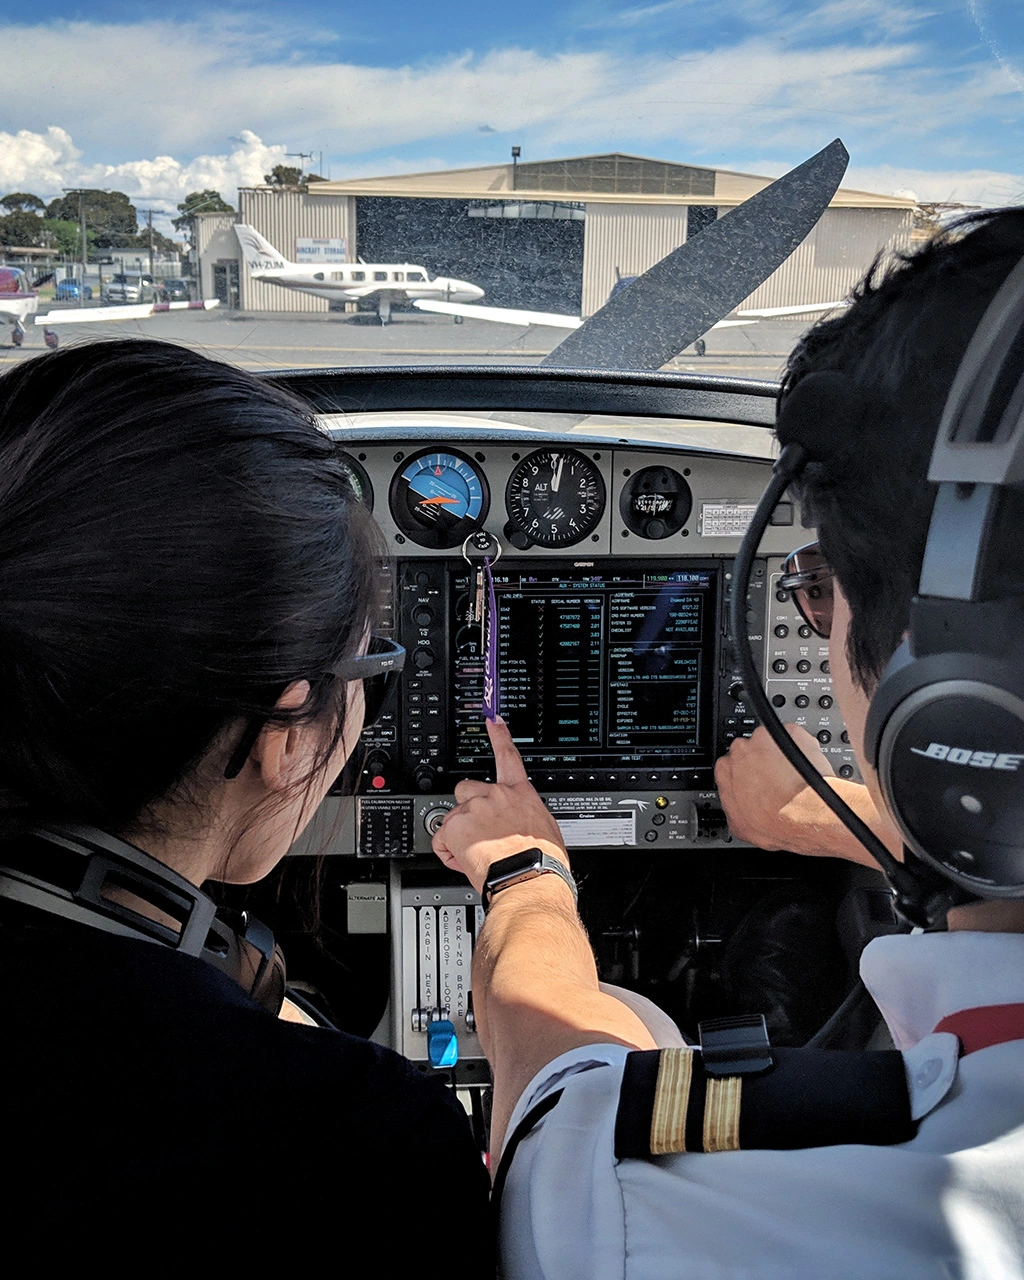
Before all flights, the aircraft will be thoroughly inspected. This ensures all controls are functional, check for obvious damage to the engine, airframe or structure before any flight is to take place. After engine start and prior to takeoff further checks are carried out as per the SOPs. This is recommended by both the aircraft manufacturer and in the aircraft’s Pilot’s Operating Handbook (POH) to further assure a safe and efficient flight takes place.

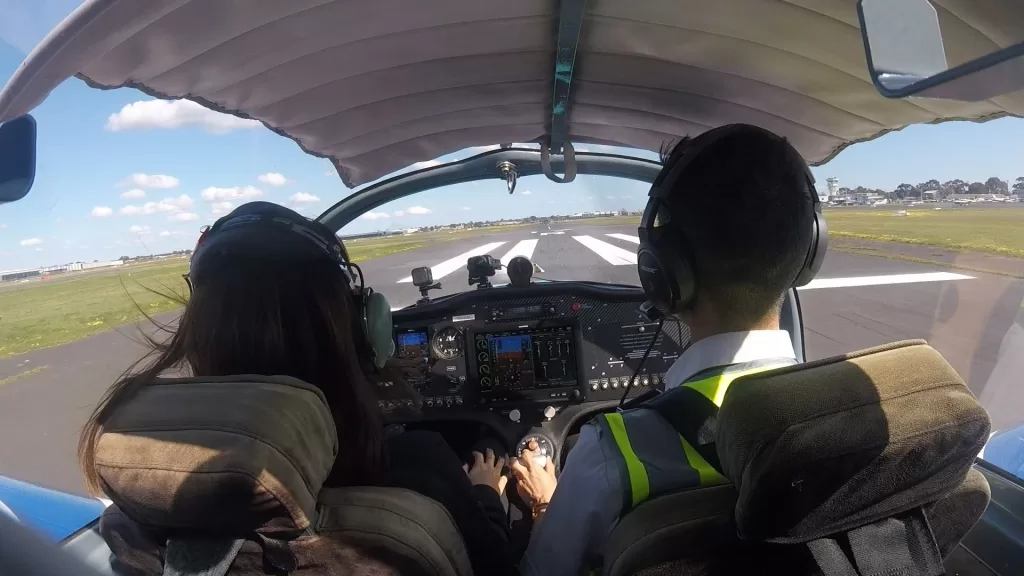
Each student’s flights are recorded in detail. Instructors will rate their performance to make sure students reach the standard or competency of that particular lesson. Students who do not meet these standards or competencies will have to redo the lesson sequence until this standard is met. Within the school, we have systems in place to cross-check and ensure that all training records are completed and updated in a timely manner.

Briefings are always done properly and consistently before and after each flight. This ensures that students are both aware of what they are going to do, and of the specific standard that is required for that particular lesson.

Prior to solo flights, instructors will double-check to make sure the students have all the required documents such as a medical certificate, student pilot licence etc. Training records must also show they have achieved all the necessary competencies prior to undertaking any solo operations.

Creating a Pilot and Aircraft Safety Culture

Further to the priorities and procedures outlined, we maintain our own Risk Management Plan and Safety Management System. This enables us to further minimise the potential risks associated with flight training. Despite this comprehensive system, we must not think that we are infallible. We encourage all of our staff and students to form a habit of looking, learning, and discussing potential risks we see as part of our normal day to day operation. This attitude allows us to evolve and update our systems regularly. That then helps to ensure a safe operating culture persists within the Learn To Fly organisation and group.

We encourage instructors and students to go through appropriate channels to advise safety concerns within or outside of our operation.

We believe that technology as a communication tool has great potential to assist safety operations. Flight training software can provide updates on aircraft unserviceability or if an aircraft may need to be grounded; through to communicating safety concerns or topics that instructors or students raise within the organisation.

Exceeding Expectations

We aim to have higher safety standards than other flight schools in Australia.

On top of the Public Liability Insurance and the RAAus Member Liability Insurance, we cover an additional A$5 million in Liability Insurance for all of our students.

We only buy brand new RA-Aus aircraft so we can be certain of the maintenance history for every plane.

All RA aircraft in our fleet is equipped with Rotax engines which have an outstanding reputation and operational safety history.

At Learn to Fly, we believe all these extra steps – combined with the safety culture exhibited by our individual pilots, instructors, and the student group – will allow us to go a long way in providing an extra margin of safety.

Aircraft-PreFlight-Safety

Want to fly with us? Email [email protected]. You can also visit https://drift.me/learntofly/meeting to book a meeting and school tour.

Learn-To-Fly-Melbourne-Youtube-Subscribe-Footer

What is Threat and Error Management in Aviation?

Threat Error Management (TEM) in aviation is a term that has commonly been associated with airline operations. But it also extends to all other aspects of aviation. TEM is all about being a safe and well-prepared pilot.

The definition of Threat and Error Management in aviation 

Threat Error Management (TEM) has been defined by various institutions. The Australian authority Civil Aviation Safety Authority (CASA), defines it as:

‘The process of detecting and responding to threats and errors to ensure that the ensuing outcome is inconsequential – the outcome is not an error, further error or undesired state’.

It wasn’t always called TEM

The term has evolved over time from Cockpit Resource Management (CRM) to Crew Resource Management (again CRM), to its current form as TEM.

Although these big words and terms sound noteworthy, you most likely won’t come to grips with what they are really about or how much of an impact they have on a pilot during a flight without exploring them in detail through study and practice.

Its impact extends beyond aviation

While TEM was first adopted by the airline industry, its importance for all of us should not be underestimated. TEM has impacted of all kinds of industries in a multitude of ways.

Threat and Error Management processes and practices have become the benchmark when approaching tasks and activities in a range of professions, including our flight training and other standard aviation procedures.

TEM gives us perspective on perception

Each of the key concepts in TEM relates to a specific aspect of a total process, and all are aimed at handling a particular threat.

What is a threat? Furthermore, what is a threat to you?

In many cases, this threat can be different to the one which is commonly perceived.

Threats can come in many forms, such as environmental. The weather, or other factors that may seem inconsequential such as:

Flying in a different aircraft compared to your usual one

Having a change of instructor on the day

Preparing adequately for your flight

Not having enough sleep the night before

All of these are considered threats as they can have an impact on the outcome of any flight.

Errors become easier to manage

Beyond the threats is the resulting error. Some errors may result in a further error, varying in size but depending on how we handle it may or may not impact on the safety of the flight. Ultimately, this aspect relies heavily on how the management of that error is addressed.

As pilots, we are the last line of defence when considering errors and, therefore, safety. The key responsibility to prevent this error from having an outcome or impact on the flight and placing one’s aircraft in an ‘undesirable state’.

This management should not be underestimated because a significant or undesirable outcome places one in a position that none of us would like to contemplate, irrespective of the size or aircraft type that we are operating.

TEM Invites closer analysis of safety

The question that arises is what should we do when handling threats and errors each time we go flying? The answer may vary, however, we should actively look around us and consider any factor that may be perceived as a threat.

Beyond this, consider what error could arise from this and how as an individual you would manage or handle this situation. Only then with constant attention, proactive discussion and consideration of factors around us will we improve our skills and awareness towards becoming better and potentially safer pilots of the future.

See how Threat and Error Management in aviation is discussed in one of our flying lessons on YouTube below. Don’t forget to subscribe for more great flight training content!

Want to fly with us? Email [email protected]. You can also visit https://drift.me/learntofly/meeting to book a meeting and school tour.

Learn-To-Fly-Melbourne-Youtube-Subscribe-Footer

Final Flight Departure Procedures: Flight Departure Processes Part 3

In this blog series on flight departure processes we have covered engine starts, taxi checks, run-up checks and more. Now it’s time to run through the final flight departure procedures and take to the skies!

Use the TMPFISCH acronym

The proper acronym that applies whenever holding short is TMPFISCH, and it is what I usually use for my operations here in Hong Kong. It goes like this:

T – Trims set to the appropriate take-off position

M – Mixture rich, master on and magnetos on both

P – Primer in and locked (or fuel pump off)

F – Fuel is sufficient for the coming flight and flaps are set

I – Instruments’ Ts and Ps are in the green range

S – Switches (landing and strobe lights on)

C – Controls full and free

H – Hatches secure and harnesses secure

When you do your controls part of this departure check, make sure your box the controls. That means to move the controls in a movement of a box and ensure you have still got adequate freedom of movement. You might have a mile-long taxi, and something might have jammed the controls. Never skip this check as part of your final flight departure procedures.

Deliver your safety brief

You can do the EFATO brief (Engine Failure After Take-Off ) at any stage before the take-off, but I typically do it after run-ups. A typical brief should describe the actions that need to happen in the event of an engine failure at particular stages of the flight, such as:

During take-off

After rotation

Below 200 feet and with runway remaining

Above 200 feet with no runway remaining

Above 700 feet.

The brief goes something like this:

“If we have an engine failure on the ground, we stay on the ground. If we have an engine failure below 200 feet, we land on the remaining runway. If we have an engine failure above 200 feet, we land straight ahead or 30 degrees to the side. If we have an engine failure above 700 feet, we will turn back to find runway X.”

On a standard Cessna or Sling, 700 feet is plenty for a runway turn-back manoeuvre. However, during the turn back you MUST lower the nose to maintain airspeed and limit the angle of bank to 45 degrees. Never attempt a runway turn-back if an engine failure occurs below 700 feet!

Ready to go

You are lined up on the runway, and ready to take to the skies. It’as always an exciting moment for any pilot. However, discipline must be maintained during the final flight departure procedures.

Ensure you are on the correct runway by looking at your directional gyro, which will indicate the proper runway heading. It’s also a good practice to cross-check this reading with the magnetic compass as well. After that, you should triple-check with making sure that the runway numbers are indeed the intended runway. Everything checks out? Good.

Time to fly!

Now the take-off roll can begin. Ensure that your heels are on the floor and that you are controlling rudders only with the balls of your feet; this will ensure that you do not inadvertently apply the brakes! After you complete this, you should use full power – smoothly but with purpose – and count three, one-thousands before going all the way with to full strength.

After full power is applied, check on the RPM. They should be reading at or above the stated minimum static full-throttle RPM. At this stage, you should also check the oil temperatures and pressures and ensure that these are still sitting within the green range. Finally, you should check to ensure that the airspeed indicator is ‘alive’, meaning that it is indicating an acceleration.

At rotation speed, gradually apply back pressure and lift the nose wheel off the ground, allow the aircraft to fly off the runway and then adopt a Vy (best rate of climb) attitude to ensure maximum climb performance. Look outside! Once you are above 300 feet AGL and obstacles are cleared, move the flaps to up and auxiliary fuel pump (if applicable) to off. You should once again check the oil temperatures and pressures.

The result of following the correct final flight departure procedures? A smooth take-off, followed by another safe and beautiful flight!

Thank you to student pilot Howard Lau for contributing this great series on flight departure procedures.

IMSAFE-For-Pilots
With the final flight departure procedures done, it’s time to fly!

Find out what it feels like to take to the sky! Email [email protected] or visit https://drift.me/learntofly/meeting to book a meeting and school tour.

Learn-To-Fly-Melbourne-Youtube-Subscribe-Footer

Flight Pre-Departure Checks: Flight Departure Processes Part 2

In Part 1 of our flight departure processes series, we laid the groundwork to set ourselves up. In this post, we will go through your flight pre-departure checks. This includes engine starts, taxi checks and run-up checks. Following these checks we’ll be heading to the runway.

Perfect priming

Let’s start our flight pre-departure checks with the most important thing. Safety. Crack open the window and say, ‘CLEAR PROP’. Make sure you give people time to stand clear and scan the area before you move on with your other procedures.

Next, place one hand on the throttle and start cranking the starter, but for no longer than ten seconds each time. If the engine does not fire within 10 seconds, stop cranking right away and wait a minute so the starter motor can cool down. Try some light priming when you’re ready to have another go—it works wonders.

When the engine fires, release the starter promptly. If you’re flying a plane with a fuel-injected Lycoming engine, adjust the mixture to full rich.

Green means go

After a successful engine start, you will need to check that the oil pressure is rising (or has correctly risen) into the green range. This is crucial because oil pressure indicates whether metal components in the engine are sufficiently lubricated.

If oil pressure is not within the green range, shut the engine down immediately and report this to the engineer.

As long as the pressure looks good, you can raise the flaps (if left down after pre-flight), turn on the taxi and navigation lights, and turn on the avionics master switch. Only now should you don and adjust your headsets.

Eyes forward

When taxiing, you should aim to minimise the time you spend with your head down – literally so you don’t bump into anything.

It has become normal for pilots to use GPS devices and iPads (used to run apps like OzRunways) in the cockpit. It is ironic, therefore, that when we attempt to program devices while taxiing we put ourselves at risk of having an accident.

The only exception I make to this rule of my flight departure process is to check the turn instruments. I like to quickly glance down and ensure that:

The slip ball is deflecting properly

The turn coordinator is indicating correctly

The direction gyro turns in the proper direction

The attitude indicator stays erect

The magnetic compass turns in the proper direction.

Remember the CIGAR acronym

I like to do my run-up checks using the acronym ‘CIGAR’. Here is how it works:

Controls – full and free and control surfaces deflect correctly

Instruments – all in the green range, the ammeter is charging and the suction is in the green range

Gas – check the mixture and fuel selector

Airframe – secure the canopy, doors and windows, and make sure your parking brake is on

Run-up – set the correct run-up RPM, check the brakes, check the magnetos, note when the RPM drops (on the Sling with the 912iS engine, one must check that both engine fuel pumps are working), pull the throttle to idle and ensure the engine does not seize at idle

After the run-up, the engine should be set to the ground idle speed as recommended in the POH.

Thank you to student pilot Howard Lau for contributing this great series on flight departure procedures. Stay tuned for the third and final instalment coming soon, as we head to the runway!

Flight-Pre-Departure-Checks
CLEAR PROP! Safety comes first when completing your flight pre-departure checks.

Find out what it feels like to take to the sky! Email [email protected] or visit https://drift.me/learntofly/meeting to book a meeting and school tour.

Learn-To-Fly-Melbourne-Youtube-Subscribe-Footer

Flight Departure Processes: Part 1 of 3

With so many other things in life, it’s easy enough for you to just remember something once you know it. Then it’s no problem to repeat it. Like driving. But flying is different. There are checklists and acronyms (and more checklists) for a reason. There are far more safety considerations when you are flying, and following the right flight departures processes will help to ensure you have a smooth and safe flight, every time.

Walk the walk

A successful and safe flight begins before you even turn on the master switch. It all starts on the tarmac as you approach the aircraft. Your flight departure processes should involve asking yourself lots of questions:

Are the tie-downs done properly?

Are the tyres inflated correctly?

Is there any pink hydraulic fluid around the aircraft?

Is there any blue fluid around the aircraft reminiscent of Avgas?

It has been scientifically proven that asking yourself questions is the most effective way to stay in the loop of information.

Feel the wind

You should not only ask yourself about the aircraft or about the ‘now’ but also ask questions that will bring into effect a successful take-off. Personally, I like to ask myself these:

Should I use flaps or not?

What technique will I use for these conditions? Short field or normal?

Should I delay my rotation for density altitude, load or gusts?

What crosswind correction should I be using during taxi and initial roll?

These questions really are the basis for me completing smooth and safe flight procedures. They help me make sure I’m always ready to respond to new information. On that note, try to make sure you always pay attention to your surroundings. Feel the wind, look at the windsock, listen to the wind and feel the temperature on your skin. Forming attentive habits and looking out for these cues will allow you to prepare for a better flight.

Take it easy

After a normal interior and exterior pre-flight check has been completed, and the aircraft is confirmed to be in safe working order, we can proceed to the engine start. My secret tip is don’t rush!

I’ve had the fortune to fly with the training captain of a major airline in Hong Kong, who is also a tailwheel aircraft instructor and aerobatic pilot. He said these wise words I will never forget, ‘Don’t rush because if you rush you will kill yourself one day.’ I could not believe the severity of his words given his experience in aviation! Needless to say, I listened to his advice.

Get ready for ignition

Before I start the engine, I like to plug in the key, and with the master switch off, I rotate the key to start and then release it. The key should immediately snap back to the both position. This is a simple pre-start ignition check that I learned during my time as an aircraft maintenance intern in Hong Kong.

What this check does is make sure that the starter motor does not engage when the master switch is off, the key locks into position properly and the spring mechanism works.

Prepare the cabin

With the pre-start ignition check completed, I check the cabin. This is when you should adjust your harnesses and seats to your satisfaction, and keep a window or the canopy open. After ensuring that the propeller area is clear, flip on the beacon light switch and the master switch.

Look at your ammeter—it should show a discharge. Check your oil temperature to gauge the amount of priming required or (if it’s the Rotax 912ULS equipped Sling 2 or the Bristell at Learn to Fly) the use of choke. Ensure all circuit breakers are in and the avionics master switch is off.

Wait for it

One of my pet peeves at this stage is pilots who don their headsets before the engine has started. What if someone was trying to get your attention about an unfolding emergency? With the headset on, you wouldn’t be able to hear them. Instead, remove the headset from the dashboard and put it on your lap so you can have maximum visibility out of the windscreen.

An unwritten rule

Set the fuel selector in accordance to the POH and prime as required. After priming, ensure the primer pump is in and locked or, alternatively, that the auxiliary fuel pump is off. If the plane has a fuel-injected Lycoming machine, check that the mixture is set to full rich. If you’re ever in doubt, start with no prime. This will avert the possibility of flooding the cylinder heads due to excessive priming.

Thank you to student pilot Howard Lau for contributing this great series on flight departure processes. Stay tuned for the next part, where we run through flight pre-departure checks.

Flight-Departure-Processes-Female-Pilot
Getting your flight departure processes right ensures the safest start to your flight.

Find out what it feels like to take to the sky! Email [email protected] or visit https://drift.me/learntofly/meeting to book a meeting and school tour.

Learn-To-Fly-Melbourne-Youtube-Subscribe-Footer

6 Ways to Maintain Pilot Proficiency and Safety

Once you achieve the Recreational Pilot Licence (RPL) or Private Pilot Licence (PPL), as well as any endorsement or rating on top of that, you must apply yourself to the tasks required to maintain pilot proficiency and safety.

Commercial pilots do this by flying a lot of hours, but unfortunately, a lot of RPL and PPL pilots don’t have this luxury, which means their skills diminish over time. Here are six ways to make sure this doesn’t happen to you.

1. Know yourself

For the sake of common sense and for safety, a pilot should keep analysing their performances and keep practicing. More than anything, they should be aware of their limitations. It’s your responsibility to assess where you’re with your skills and knowledge at all times and compare it with where you aim to be. If you ever find there’s room for improvement, take the time before your next flight to prepare for it.

2. Show safety in your attitude

Flying is an attitude and a way of thinking. It’s about one thing above all else, and that is a concern for safety. To maintain pilot proficiency and safety means turning up focused for the flight. It’s what will keep you on track to maintain your relevant skills and qualifications down the line. Even better is if you can start putting this attitude into effect while you’re still on the ground.

3. Watch the weather

You can download the relevant weather from www.bom.gov.au or NAIPS on a regular basis to see how it is expected to develop during the course of the flight. When you know what to expect from the weather you will automatically start solving related problems prior to the flight. It will set up your in-flight decision making for success and quicken your response time when adjustments are called for.

4. Refresh your knowledge

Maintaining pilot proficiency and safety requires a high level of skill. It’s about doing what you can when you’re not physically in the cockpit, and preparing yourself for the next flight. For example, when a pilot doesn’t fly a particular aircraft for some time, particularly if it is a complex aircraft, they should study critical aspects such as speed, RPM settings and emergency procedures before flying again.

5. Seek out other pilots

Refreshing your accumulated knowledge in aviation should always be self-directed, but this doesn’t mean you can’t reach out to other pilots to get support and advice. If you’re in doubt, ask an instructor at your flying school to test you on the spot or give you ideas about who to contact.

Although things like a check flight will normally be conducted by the flight school automatically, you must be disciplined throughout your training, so that you can later recognise when this is necessary and follow through.

6. Build up your ratings and endorsements

Another way to maintain your proficiency is to go and get a new endorsement or rating. This can take your flying to a whole new level and benefit all areas of your competency to fly. While this training will add to your existing skills, it will also force you to go over what you have learnt already.

Bonus tip! Enjoy the ride!

Pilots have no shortage of things to learn and all of this needs to be maintained in the long term. Hopefully, your competency rewards you with better, easier flying experiences over time. Many pilots come to love the many small details in their regular procedures that allow them to exert an amount of control over a flight, which changes the technical success of every journey.

Pilot-Proficiency-and-Safety
Once you have achieved your licence, you will need to continue to to maintain pilot proficiency and safety.

Want to fly with us? Email [email protected]. You can also visit https://drift.me/learntofly/meeting to book a meeting and school tour. For more great flying tips and the latest flying videos, click below and subscribe to our YouTube channel!

Learn-To-Fly-Melbourne-Youtube-Subscribe-Footer

6 Ways to Improve Flight Training Efficiency

We are always thinking about ways to help our students get the most out of their flight training course. We believe it’s so important for students to be able to motivate themselves as they work through their training hours. Part of this is applying efficient learning tactics that keep everything progressing at a healthy rate. We are always looking for ways to improve flight training efficiency.

Efficient flight training results in less money and time spent, as well as an overall boost in learning gains over a period. So from every angle, there’s a benefit to the student who finds ways to learn more efficiently. Here are five to get the ball rolling!

1. Preparation

Make it a goal to come prepared. Student pilots who do preparation before their training get more out of their lessons. It makes sense that you have tried to improve your theoretical understanding of flying in between training sessions, you can more or less just work that into practice when you arrive on your training days.

Preparation can mean:

Doing practice radio calls
Studying theory
Knowing the flying pattern
Learning procedures at the training airport

Ask your instructor for details about your next lessons, and for ideas on any extra study that could help you get the most out of it. They will be happy to help!

2. Flight Simulation

Technology has a lot to do with efficiency. If your flying school has a Flight Simulator, you should be making use of it. For the first few lessons of flight training in particular, a Flight Simulator can help you get used to flying procedures. Learning these procedures in the simulated environment first means that time spent in the real cockpit can be used to test this knowledge rather than build its foundation, and it gives you more of an opportunity to hone other aspects of flying.

3. Teamwork

Find a peer to connect with over the course of your flight training. The enthusiasm generated between fellow enthusiasts becomes self-perpetuating and the interaction, both in the air and on the ground, can be highly motivating. If you’re generally quite hard on yourself, this is a great way to get another perspective on the training process and a greater boost from each of your achievements along the way.

4. Reflection

As a student, you should be thinking about the process of flying while on the ground as one of the ways to improve flight training efficiency. This will help you to focus your mind during flight, and get used what to expect and how the flight should progress. It will also help you to get ahead of the aircraft when transitioning to different stages of the flight, such as from take-off to the climb and then cruise.

5. Look for schools offering value

Look for a good flying school with high standards, and when comparing different schools think about them based on the value they offer you. Value doesn’t just mean finding the cheapest course. It combines quality of instruction, aircraft, facilities and of course, pricing. Find out if the school you’re looking at has instructors with a passion for mentoring others, and are not only accruing their teaching hours in order to get into other jobs. High standard flying schools all have one thing in common: they’re there for you, the student!

AL42-Diamond-DA42-Simulator-Learn-To-Fly-Melbourne-Hero
Making good use of flight simulators is a great way to improve flight training efficiency.

Find out how we can improve your flight training efficiency! Email [email protected]. You can also visit https://drift.me/learntofly/meeting to book a meeting and school tour. For more great flying tips and the latest flying videos, click below and subscribe to our YouTube channel!

Learn-To-Fly-Melbourne-Youtube-Subscribe-Footer

4 Important Tips to Help You Prepare For Your First Solo Flight

The time is here! Your very first solo flight! Just like the time you first drove your car alone after getting your licence, the feeling of flying solo can be exhilarating, but very overwhelming. There’s also a higher margin of error, as your instructor will not be next to you to guide you. But, once you’ve read these few tips to help you prepare for your first solo flight and completed all the solo flight training requirements, you’re ready to feel the independence that comes from flying solo!

Go easy on yourself

Remember, you are still learning. Just as when you were first learning how to drive, your reflexes were much slower, you weren’t that good at changing lanes or braking smoothly or at the dreaded parallel parking. That first solo drive must have been nerve-wracking, and you might have wanted to stop the car in the middle of the road and take off running.

Learning how to fly is much the same. You might get frustrated at the time it is taking you to master a new skill or learning how to land safely. But it is important to remember that calm and collected pilots make safe pilots. Stress and anxiety can affect our decision-making powers, thus putting us at risk of making even more mistakes! Remember to take a deep breath before each lesson and remind yourself that you’ve got this, even if it seems like it is taking forever!

Listen to your instructor

Your first solo flight will typically involve successfully taking off, completing a circuit pattern and safely touching back down on the ground without the help of an instructor. To prepare for your first solo flight, you will complete this exact same flight many times with your instructor sitting next to you. Use that time to soak up as much information you can, and use your instructor’s experience.

It’s very important that you listen to everything your instructor tells you, and that you are open to their advice and suggestions. Flight instructors have seen many pilots before you, all with different learning styles and different strengths and weaknesses. When an instructor identifies a weakness in your flying, this is the best opportunity to listen, learn, and make it into a strength.

Mental rehearsal and practice on the ground

In the days leading up to your first solo flight, practice flying mentally. This involves sitting on a chair and visualising that you are flying the circuit and thinking of how to fly the plane. It’s not even a bad idea to do this after every flight lesson, in order to make your movements muscle memory. This will save you time trying to figure out what comes next when you actually fly solo when it comes to procedures, radio talk and check as these things will already have become automatic by then. This method of training is also known as “chair flying”.

You can also prepare for your first solo flight by using a flight simulator. A flight simulator allows you to understand the controls and mechanics of the cockpit and repetitively practise taking off, manoeuvring, and touching down without ever leaving the ground. This is a safe way to gain the skills and expertise required to be able to fly solo.

Trust yourself

Finally, once you have successfully completed your solo flight training and your instructor deems that you are ready to take the aircraft on your first solo flight, it is important to trust yourself and trust the skills you have been taught. Get some good sleep every time before a solo flight and don’t let the negative thoughts take over. You know what you are doing and you have practised hours upon hours for this, both physically and mentally.

It might seem daunting at first, but once you step into the cockpit, you are likely to remember everything you have been taught and you will successfully complete your first solo flight like a bird flying in the sky—naturally and effortlessly. You’ve got this!

Prepare-for-your-First-Solo-Flight
As you prepare for your first solo flight, just remember… You got this!

Want to experience flying solo? We have a range of courses to get you there. Email [email protected]. You can also visit https://drift.me/learntofly/meeting to book a meeting and school tour. For more great flying tips and the latest flying videos, click below and subscribe to our YouTube channel!

Learn-To-Fly-Melbourne-Youtube-Subscribe-Footer

What is the Difference Between RPL and PPL?

It’s a common misconception that you must choose to between completing a Recreational Pilot Licence (RPL) or a Private Pilot Licence (PPL) when you start flight training. But they’re actually two milestones on the same flight training journey. But what is the difference between RPL and PPL?

It’s less about which licence you choose, but rather how far you want to take your flight training. Each licence and endorsement you earn along the journey will give you different skills and expand your freedom when you’re up in the air. It can be helpful to know what each licence entails so you can start planning your own flight training journey.

First stop: Recreational Pilot Licence (RPL)

A Recreational Pilot Licence (RPL) is the starting point for your pilot training. Whether you are training for fun or for a career in aviation, the Recreational Pilot Licence will be your first major milestone.

The RPL program will teach you basic flying techniques including climbing and descending, take-off and landing, dealing with emergencies etc. Every flight lesson will start with a classroom briefing on the techniques before they’re put into practice. You’ll need to pass several theory exams as well as complete practical flight training.

With a Recreational Pilot Licence, you’ll be able to fly as a Pilot in Command of a single-engine aircraft under the maximum take-off weight (MTOW) of 1500kgs, within a boundary of 25 nautical miles from the departure airport. This distance limitation is the main difference between RPL and PPL.

Next stop: Private Pilot Licence (PPL)

After completing your RPL, you can continue on to get your Private Pilot Licence (PPL). The PPL training focuses mainly on navigation. During the PPL training, you will learn how to navigate to and from different airports. You will go through the following steps:

1. Take-off, navigate around the ranges and control steps
2. Fly to a different airport and land
3. Take-off and navigate back to the original airport

Similar to the RPL program, you will need to pass several theory exams as well as complete practical flight training.

Once you have received your Private Pilot Licence, you will be allowed to act as a Pilot in Command and be endorsed to fly anywhere in Australia. You will also be able to carry up to five passengers and fly all over Australia.

If you decide that you want to continue towards a career as a pilot, your next step will be Commercial Pilot Licence (CPL) training syllabus.

It’s up to you how far you take your flight training, and you don’t need to have your journey planned when you first start out. Now you know the difference between RPL and PPL. But be warned, once you’ve gotten a taste for flying through the RPL it’s hard not to catch the bug and want to keep going!

PPL-Navigation-Flight
The main difference between RPL and PPL is the distance you can fly. A PPL allows you to see some pretty amazing sights around Australia!

Complete your RPL or PPL with us! Email [email protected]. You can also visit https://drift.me/learntofly/meeting to book a meeting and school tour. For more great flying tips and the latest flying videos, click below and subscribe to our YouTube channel!

Learn-To-Fly-Melbourne-Youtube-Subscribe-Footer