Connection Information

To perform the requested action, WordPress needs to access your web server. Please enter your FTP credentials to proceed. If you do not remember your credentials, you should contact your web host.

Connection Type

Pilot Stories Archives - Page 3 of 3 - Learn To Fly Melbourne
-->

LTF Enters A Team In The 2018 Outback Air Race

Late last year we posted a blog story announcing that two of our students were going to compete in the 2018 Outback Air Race. The annual event starts in Archerfield (near Brisbane) in QLD and finishes in Broome WA after eight individual flying legs.

Since 1996, the Outback Air Race has helped to raise much-needed funds for the Royal Flying Doctor Service. This year will see over 100 competitors in more than 40 teams take to the sky. The race covers approximately 2,132nm (or 3,940km), with the longest leg taking pilots from Bundaberg to Longreach.

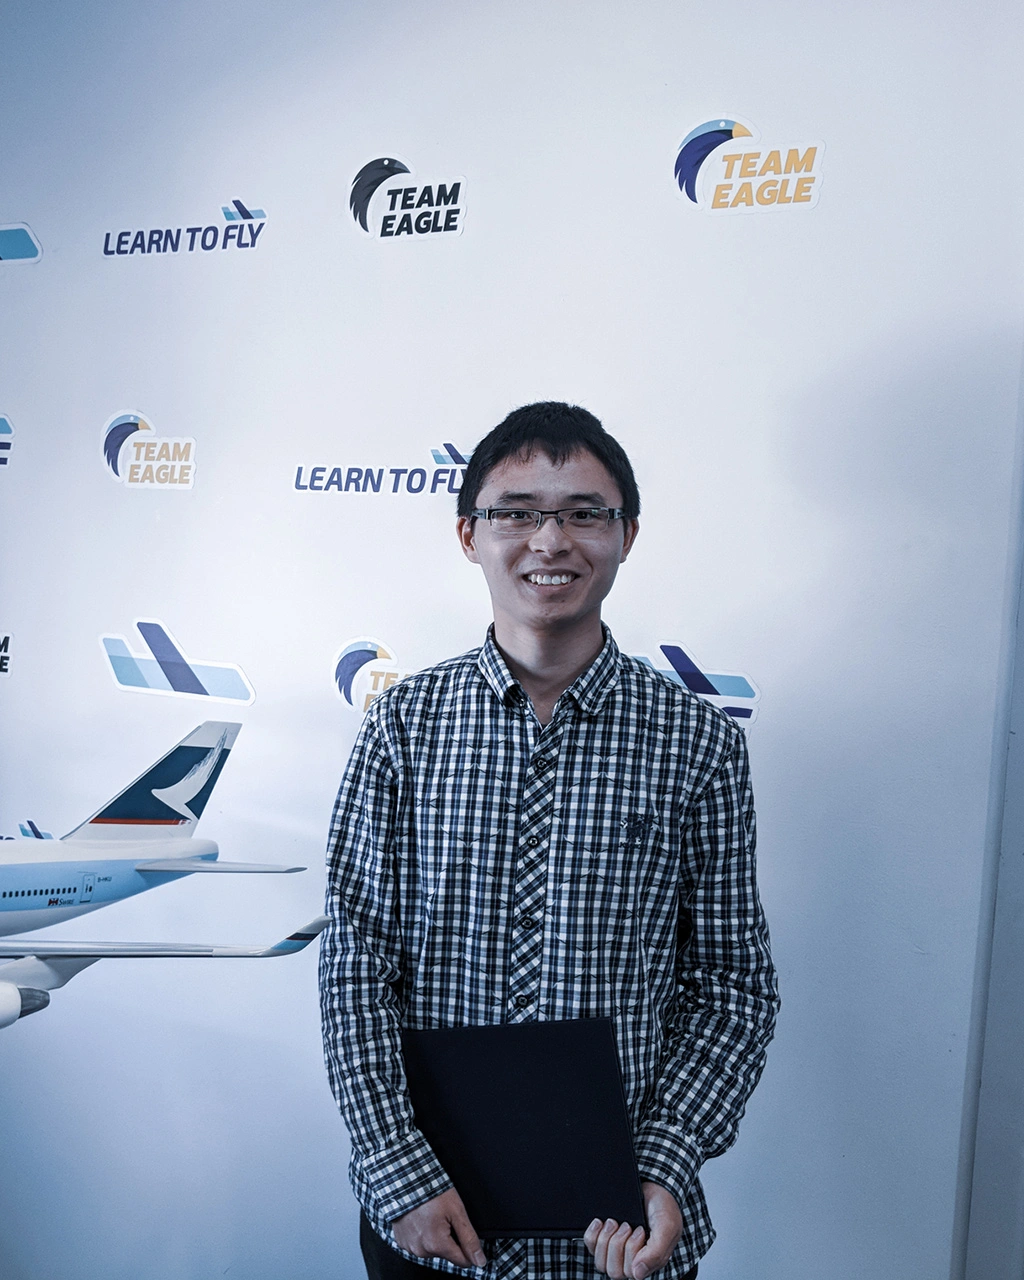
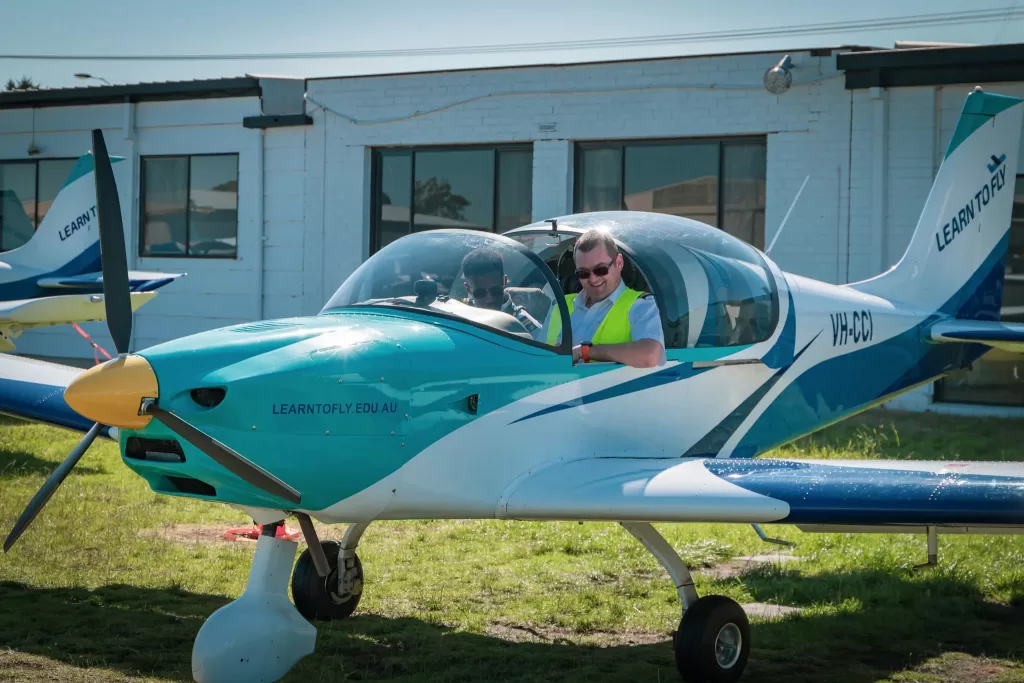
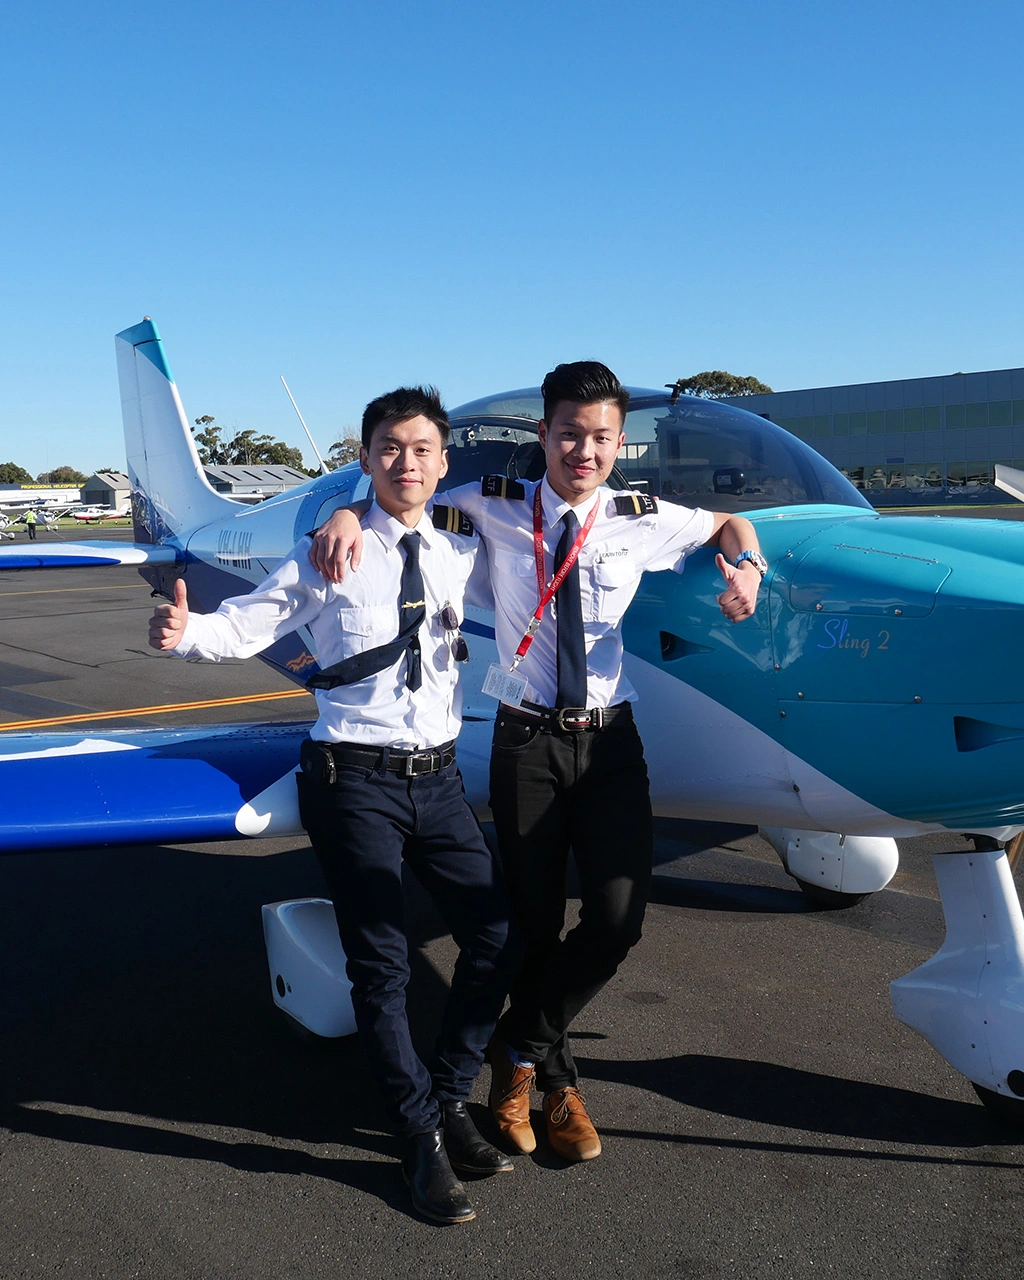
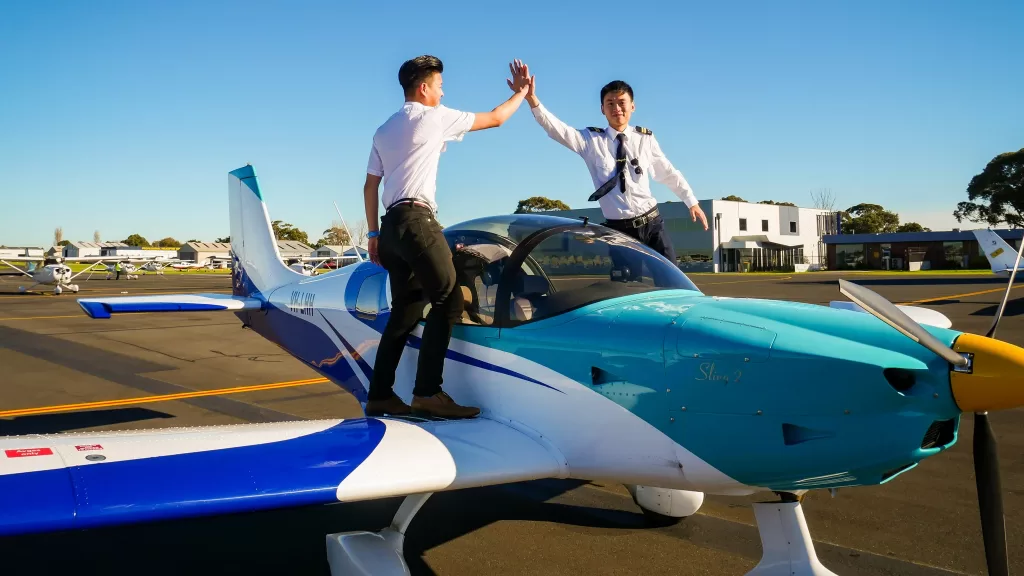
Horace, who is currently studying for his PPL with Learn to Fly, has now been joined by Eason, who is studying his Diploma of Aviation and hoping to become an airline pilot one day. At 21 and 20 years old respectively, they will be the youngest team competing in this year’s event.

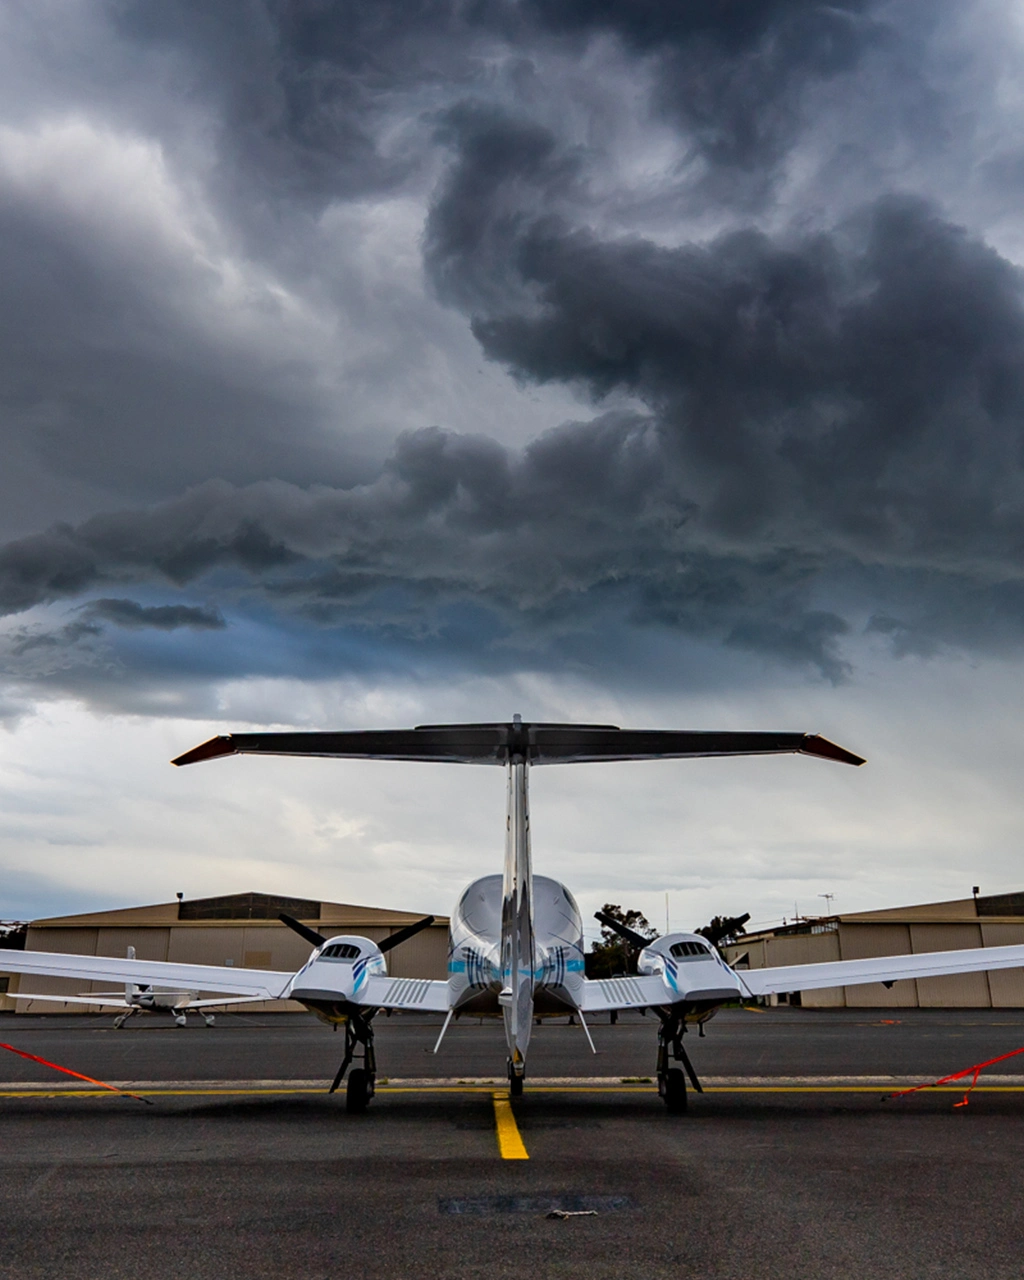
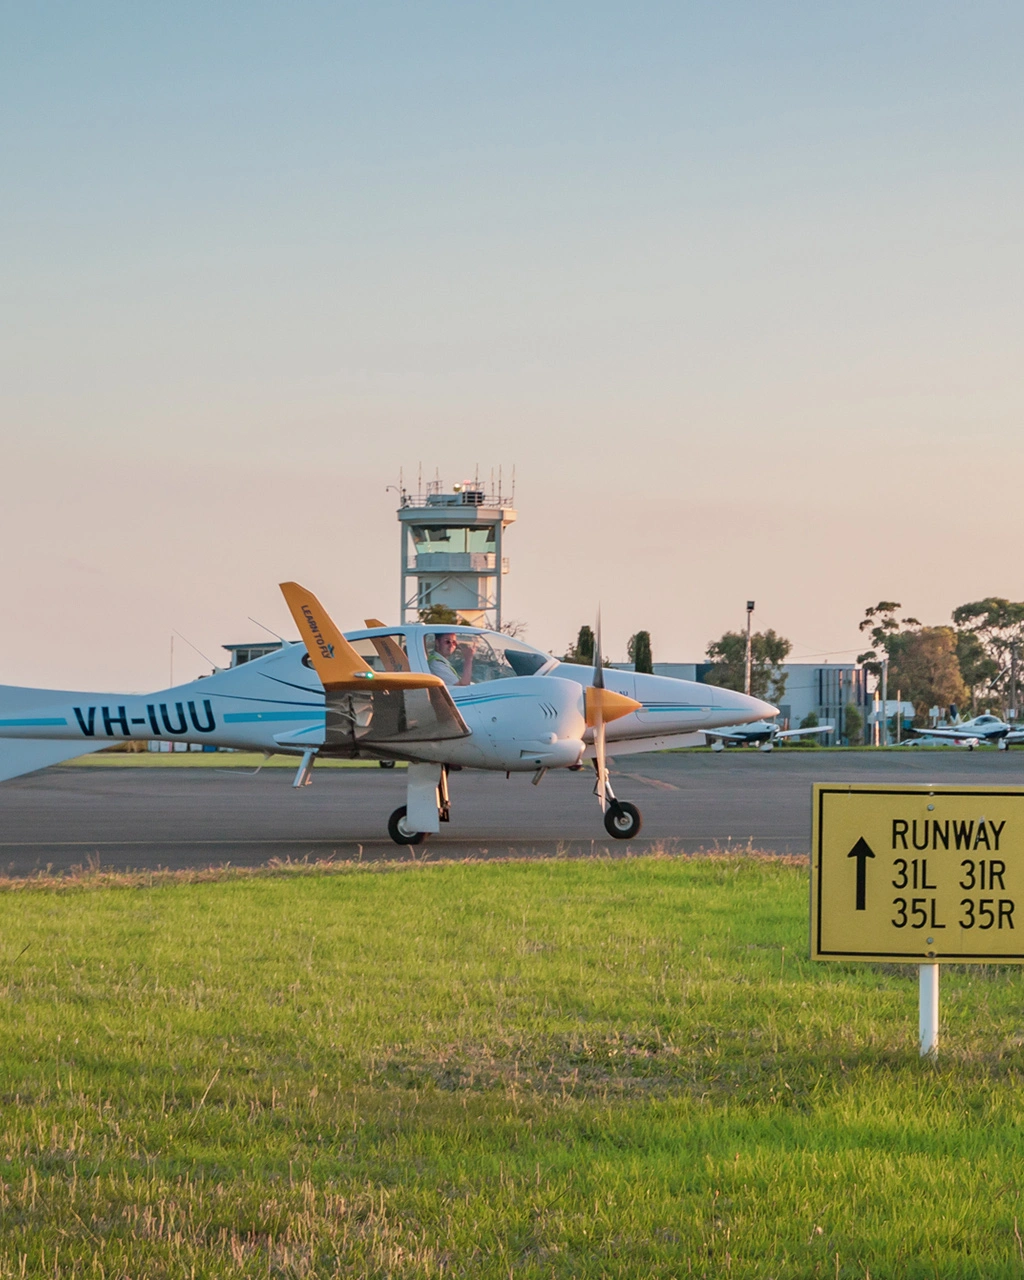
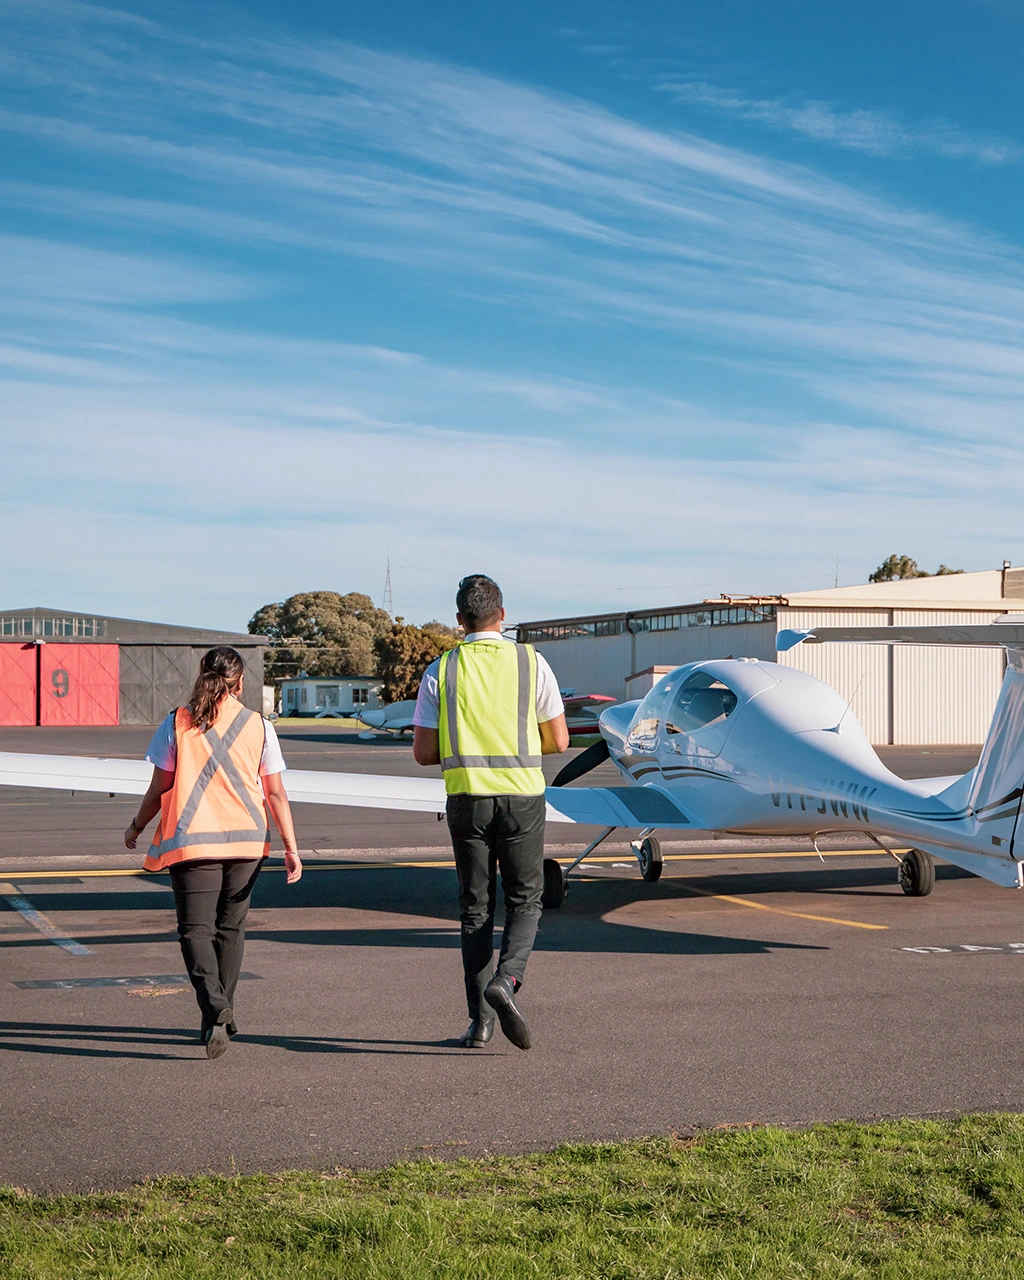
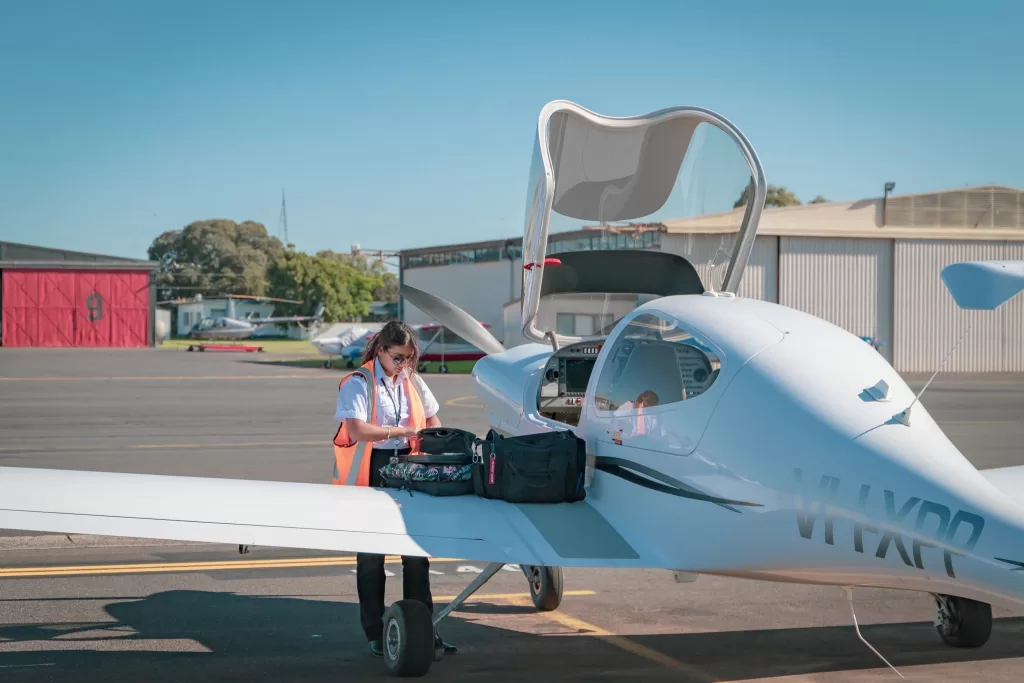
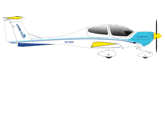
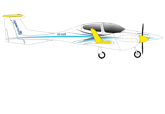
The race starts on August 18th, with Horace and Eason taking off from Moorabbin Airport here in Melbourne on August 15th to make their way north in our Sling 2 VH-LHH aircraft.

We asked Horace and Eason a few questions in the lead-up to the event:

What excites you the most about taking part in the 2018 outback air race?

Horace: I have always dreamed of circumnavigating Australia in an aircraft, and by the time I have completed the race and returned to Melbourne, I will have almost done that (Melbourne to Brisbane, across to Broome WA via the Northern Territory for the race, and then back to Melbourne). I am also looking forward to having a lot of fun and raising money for the Royal Flying Doctor Service.

Eason: I think this will be something amazing to be able to tell my grandchildren one day, and as a student pilot, taking part in the race will really improve my flying and navigational skills. I’m also really looking forward to having fun flying with Horace.

What have you been doing to prepare for the race?

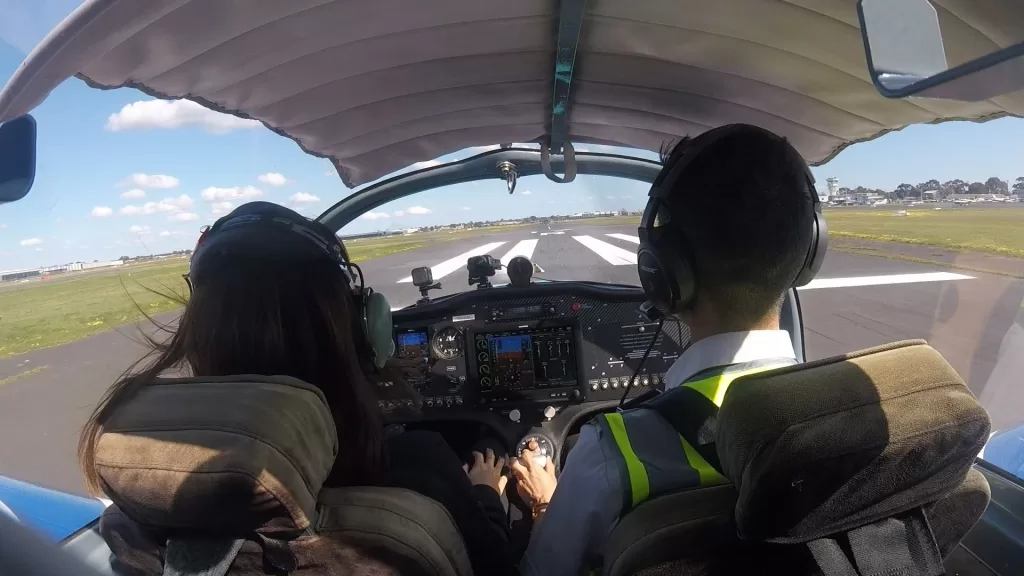
Eason: We have been flying together as much as possible, and completing a lot of longer flight legs and navigation exercises together. It’s important that we can work as a really good team together.

Horace: We have been doing a lot of planning around how we will complete each leg of the race, and how we will split responsibilities whilst we are flying. The longest single distance I have flown in the Sling 2 is around 480nm (from Sydney to Melbourne).

What are your goals for the race?

Eason: The main goal is to finish the race successfully, but also we would love to actually win at least 1 leg.

Horace: We are also hoping to raise at least $2,000 each for the Royal Flying Doctor Service through our Everyday Hero fundraising page.

You can help Horace and Eason’s fundraising by donating on their Everyday Hero page here. We’ll be keeping track of their progress when the race starts on our social media, so make sure you are following our Facebook and Instagram accounts.

LTF-Team-Outback-Air-Race
Horace and Eason make up the LTF team competing in the 2018 Outback Air Race

To find out more about our flight training courses, email hello@learntofly.com.au or visit https://drift.me/learntofly/meeting to book a meeting and school tour.

Learn-To-Fly-Melbourne-Youtube-Subscribe-Footer

Joining the Jetstar Cadet Pilot Program

We are really excited to hear that one of our students, Silas Zhang, has been accepted into the Jetstar Cadet Pilot Program. Silas was previously a nurse before deciding that he wanted to make the transition into an exciting career in aviation.

Why are cadet pilot programs the best way to get into the airlines?

Cadet pilot programs are essentially a short cut to becoming an airline pilot. You can apply with no prior aviation experience. Other airline entry pathways generally require a minimum number of flying hours before you can apply.

It’s as close as you can get to a guaranteed job with an airline (subject to performance during training). More than 80% of cadets usually pass and becoming airline pilots straight away.

What is the Jetstar Cadet Pilot Program application process?

The application process for the Jetstar Cadet Pilot Program covers a number of different components. Each potential cadet will undertake the following:

– An aptitude test covering general and technical questions

– Group discussion, within a group of 6-9 other potential cadets. You will be allocated a task, and will then be observed on your contribution to the task. You will also be observed on how you interact with your other group members

– Two interviews, one with Jetstar and one with a flying school. These interviews will focus more on personality-based questions rather than technical questions

You are usually competing for acceptance into the program with hundreds of other applicants, and on average only around 15 students are accepted into the program for each class. Successful applicants are required to complete their training within 18 months.

What is the outcome of the Jetstar Cadet Pilot Program?

After successful completion of the training in Melbourne, cadets will complete a Type Endorsement for either the Airbus A320 or Boeing B787 aircraft, depending on Jetstar requirements at the time. Following an initial Line Check, the cadet will then join Jetstar to commence their flying career.

This obviously makes entry very competitive, so what is it that will give you that competitive edge?

The key to successful entry into the program is preparation more-so than passion (though passion is obviously still important).

Nearly every single candidate will say that they have passion to fly and to become an airline pilot – therefore, it’s not so much what you SAY, but what you DO to prove you have that passion. For example, if you haven’t done any aviation study or flight training, how do you prove you are passionate?

There are many things that can be done before the interview besides the theory knowledge and flying experience. How you perform during your interview is also very important.

Are you able to show Jetstar that you have the mindset and personality to become one of their pilots? Are you able to work well with other pilots in the cockpit? Do you have good decision-making skills and the level-headedness to handle emergency situations?

How can we help?

Learn to Fly offers a comprehensive Airline Interview Coaching Session, that covers all testing and interview processes. Basically, we will teach you how to pass all of the tests, giving you the best chance of success.

We will also provide you with the opportunity to practice, by providing you with example group discussions questions and then mentoring you on what the Jetstar Cadet Pilot Program interviewers’ expectations will likely be for each question.

Darren McPherson from ACS – Aviation Consulting Services is our Airline Interview Coaching Session instructor. He is an A330 and A350 Senior Captain with a major airline, and has already assisted more than 75 students to successfully pass their interviews and be offered pilot jobs. Successful students now fly for airlines including Qantas, Qantas Link, Jetstar, Cathay Pacific, Cathay Dragon, Singapore Airlines, Scoot, Virgin Australia, Air New Zealand, and Sky West.

Darren-McPherson-ACS-Aviation-Consulting-Services
Captain Darren McPherson is an expert on airline cadet pilot interviews.

For further information or to register your interest in our airline interview preparation courses, email hello@learntofly.com.au or visit https://drift.me/learntofly/meeting to book a meeting and school tour.

Learn-To-Fly-Melbourne-Youtube-Subscribe-Footer

How To Execute A Forced Landing: Case Study (Part 1)

The man who sent me on my first solo flight in Hong Kong is full of wisdom and has a sense of humour in the cockpit. He shared a flying experience involving a forced landing in a Cessna 152 with me. I want to share this story with you now as a case study along with tips that will guide you on how to execute a forced landing.

This is his story:

Tolo Harbour, Hong Kong, Approximately 2,800 Feet

On the 26th of February, like any other Sunday, I was sitting in the flight operation office in Hong Kong. Little did I know, out there in the Tolo Harbour, a Cessna 152 was about to be at the centre of a whirlwind adventure involving a forced landing.

At the time, we were doing some pre-examination exercises for students, and we had just turned around towards the Shek Kong Airfield. The engine suddenly ran rough, so I pulled the carb heat out and went full throttle, but it did not change the situation.

I was thinking, “Is this my lucky day? Alternatively, a bad day?”. But really, you don’t have time to think or even pray.

Decision Time

A decision had to be made in around 10 seconds. I had 3 options.

1. Go back to Shek Kong, but in that case, I would fly over Tai Po and many buildings.

2. Fly over to the dam wall (of the Plover Cove Reservoir), but it was 11.30am on a Sunday which means many people were there.

3. Fly towards Three Fathoms Cove.

I thought of those three options and discarded the first two options as they were too populated. Either way, today was the day for learning how to execute a forced landing.

Altitude

When you are at that height you will have less than two minutes before ground impact. I was thinking, “if I drag on too much or if I drag on too long, I wouldn’t have the altitude to execute my approach.”

At this point, I still didn’t want to believe that I had to do a forced landing, and I always wanted to revive the engine and glide back into the airfield. I asked ATC for approval to climb above the vertical limit, and they said, “Sure, no problem.”

The Engine Will Not Revive Itself. Decision Time Again.

You can’t spend too much time hoping to recover the engine. Run your checklists and if it isn’t working, make the decision to execute a forced landing.

The rule of the thumb here is to get a plan and stick with it. If you keep switching plans and your aircraft keeps descending, you will eventually limit your options for the forced landing too much, which is more likely to have serious consequences.

Forced Landing: Into The Trees On The Golf Course!

So how did I manage to land in the trees of the golf course without injuries? And moreover, why did I choose the trees?

I was trained to approach a field with an escape route to overshoot and go around in case something miraculously happens to the engine. The most important thing is that you have a technique to slow down. I can do S-turns to bleed off the height and shorten the landing distance, and side-slipping helps as well.

I was at 70 knots, nowhere near 60, and I was out of options at the time. If I dived the aircraft into the golf course, I would gather up speed, which may result in a tumble and getting wet. I spotted a relatively flat spot in the trees. I went for it. With full flaps, I hit the trees at around 45 knots, close to the minimum controllable airspeed.

Intentionally, I aimed between two branches so the wings would hopefully lessen the impact. And it did. The left-wing was broken off, but we walked away unhurt.

Head to Part 2 of this case study to see the lessons learnt and gain some tips on how to execute a forced landing. Thanks to LTF student pilot Howard Lau for contributing this case study on how to execute a forced landing.

Execute-Forced-Landing
Making fast decisions is an important factor in how to execute a forced landing.

For information on our flying courses, email hello@learntofly.edu.au or go to https://drift.me/learntofly/meeting to book a meeting and school tour. You can also get more handy flying tips by clicking below and subscribing to our YouTube channel!

Learn-To-Fly-Melbourne-Youtube-Subscribe-Footer

Flying In Marginal Weather: A Student Pilot Experience

Flying in marginal weather with an experienced instructor is a great way to gain experience and build confidence. As an aviation student, you will regularly be placed in unfamiliar situations that test your skill, airmanship and decision making. These judgements could even determine the entire outcome of a flight. It is paramount for all pilots to attain a weather briefing for all matters of flying, including flying circuits.

The 24th of September, 2017, was a definitive learning curb and monumental day for me in my aviation career. What was supposed to be a regular day of circuit flying soon turned into an unforeseen challenge.

The weather was marginal on that day, with gusts up to 20 knots and some showers, as the outer rainbands of a tropical depression were affecting us here in Hong Kong. However, it seemed safe enough to fly circuits at first glance.

Fly with an instructor who is comfortable with flying in marginal weather

This will allow you to test your limitations safely.

After pre-flight, I immediately requested not to be sent out solo due to the weather. Nevertheless, my instructor and I decided that today would be a wonderful opportunity to test my abilities safely under his supervision.

My instructor was comfortable with the conditions; however, we were both aware of a squall line brewing to the south of Hong Kong that could potentially affect us. We calculated that we had at least 45 minutes before the line hit, and we assumed we would be in the clear.

Think beyond the aviation weather briefing

Interpreting the weather does not stop there. It’s vital that you can visualise how the forecast can potentially affect your flight.

Heels to the floor, full power, RPMs in range, Ts and Ps in the green and as the aircraft passed 55 knots; I gently applied backpressure for a smooth take-off.

Almost as soon as I climbed above the tree-lines, the aircraft jolted to the right, and I corrected instinctively. I remembered exactly how to respond during turbulence – focus on holding the altitude of the plane, don’t chase the altitude and most importantly don’t bust manoeuvring speed.

As I rolled out on downwind, the aircraft was thrown around in all directions. My body, with the absence of double shoulder harnesses, was also thrown around alongside as the rain and turbulence worsened. I struggled but managed to get my pre-landing checks complete and radio call out. Despite my headset bumping the ceiling, in such turbulence, one must remember that the priority is always to fly the aircraft.

Fly the attitudes. It will save your life one day!

The final approach was terrible, the turbulence made me delay my full flaps selection and I felt as if the aircraft was being tossed around. It occurred to me that I was way too flat as I flared so I applied more back pressure to establish a landing attitude. Even so, it turns out that I was way too fast. I hit and bounced, holding the landing attitude before touching down once again. The conditions weren’t easing, and I really began to worry.

The rain and turbulence escalated and my headset fell off. The instructor took over as I tried to collect myself. It appeared the squall line on the radar image I saw before the flight was going to hit. I voiced to my instructor and knew that this was going to be a full stop.

Plan for unforeseen delays. Anything can close the runway

Prepared and eager to land, I rolled out on downwind, least expecting flight operations to declare a runway closure for 5 minutes over the radio.

The rain became menacing as I flew at circuit height and held, pelting onto the windshield, and obscuring my visibility. My instructor, however, remained silent to test my decision-making skills for flying in marginal weather.

Waiting for the all-clear seemed like forever. Panic began to set in as I came too close to losing control. “Don’t chase the instruments and hold the attitude,” I reminded myself.

“The runway is now all clear”

Thank goodness. My instructor sprang into action and decided to help me with radios. On the base leg, I set the appropriate attitude for 75 knots and trimmed—I feel very fortunate to be taught how to fly attitudes instead of chasing airspeed, the emphasis on attitude flying by Learn to Fly helped immensely.

Just as I was about to turn final, 75 knots plummeted to only 65 and I sank like a rock. I just had a wind shear of a 10-knot loss. Immediately I applied full power and performed a go-around.

On final approach, I focused on just flying by feel. The landing was hard; however, being back on the ground was all that mattered.

“A superior pilot uses his superior judgement to avoid situations which require the use of his superior skill” – Frank Borman, NASA Astronaut, Commander of Apollo 8

Fifteen minutes after landing, the squall line came through with heavy thunder and rain. It was at this moment I realised the outcome of today’s flight was merely a testament to my good judgement under pressure in a difficult situation. My instructor and I were both safe after I made the decision to call it off. It reiterated to me that as a student, we have the right to make a no-go decision! Because despite embracing every ounce of optimism, even for the simplest of tasks, it won’t change the weather outcome.

This flying in marginal weather experience strengthened my decision-making skills and confidence as a pilot. Contributed by LTF student Horace Ho.

Flying-in-Marginal-Weather
Flying in marginal weather with an experienced instructor is a great way to gain experience and build confidence.

For information on our flying courses, email hello@learntofly.edu.au or go to https://drift.me/learntofly/meeting to book a meeting and school tour. You can also get more handy flying tips by clicking below and subscribing to our YouTube channel!

Learn-To-Fly-Melbourne-Youtube-Subscribe-Footer

How Flying Critical Incidents Can Occur

When an aircraft flying under Visual Flight Rules (VFR) enters Instrument Meteorological Conditions (IMC), flying critical incidents can sometimes occur. In most cases, this is due to reduced visibility or inadvertent entry into clouds. Both of which happen because of the loss of the natural horizon.

Unfortunately, such flying critical incidents have cost the lives of many pilots.

You hope it will never happen to you

Before I began my pilot journey, I always seemed to find the time to read unfortunate accident reports where a non-instrument rated pilot on a VFR flight enters IMC. It is even more unfortunate to realise that many of these incidents become fatal accidents. The more I’ve read, the more I’ve tried to make myself believe, ‘It will never happen to me!’

For non-pilots, all of these accidents seem preventable. Reading the Terminal Area Forecast (TAF) and good weather knowledge are all valid and effective strategies to combat any similar occurrence from happening. However, today I will write about a time when this happened to me on a training flight, nonetheless with an experienced instructor on board.

The importance of sharing stories

Before undertaking the task of writing it, I had been wondering about whether or not I should really share my story. However, I made the decision to do so knowing it could help educate other pilots and student pilots about when flying critical incidents can occur.

Cloudy conditions and lower visibility

It was a very cold morning after a cold front came through the day before. I checked the METAR of Hong Kong International Airport and the forecast indicated cloud covers clearing and rising to 2500 feet with 9 kilometres of visibility. However, as I arrived in the flight operations office, we received PIREPs from other pilots of temporary visibility reduction to an estimate of fewer than 3 kilometres near the high ground. I knew this could become an issue upon exiting the airfield area into the training area via a gap in the mountains.

The aircraft from previous slots were rocking the circuit and about to finalise their return. Skies above Shek Kong Airfield were clearing and let in some warm sunlight. However, the area towards the exit route (Kadoorie Gap) into the training area was still rather cloudy. I saw clouds on the other side of the mountains and thought this could really be an issue for our flight today – we had some instrument flying planned.

Climbing to 1500 feet

My instructor had nearly 40 years’ experience in the UK as an aerobatic pilot and warbird pilot. He also holds an Instrument Rating – Restricted on his CAA license – although on his Hong Kong license he does not hold such rating. Even so, his instructor rating allows him to teach basic instrument flying and tracking. On this day, despite the clouds, I put my trust in his judgement and was well aware of his capabilities since we had flown together numerous times.

We taxied out to the runway after our run-up checks, only to notice something very strange. Our slot was supposedly fully booked out with our entire fleet expected to fly. However, there was no action on the aircraft apron. I recall looking to my right as I prepared to shift into full power for takeoff and witnessing all the aircraft sitting idly, waiting for the weather to clear. Still, I thought there was no time to waste and we took off.

We climbed to 1500 feet and tracked towards the exit. As soon as we switched frequencies for traffic information service we heard a rescue helicopter saying, “Visibility deteriorating to less than 3000 meters.” I wasn’t sure where the helicopter was, but in retrospect, it really should’ve been the warning to turn back. We pressed on and exited out of the mountain gap and went on to “the other side,” where all the nasty clouds were, maintaining 1500 feet all the way through.

Scary in-flight sights

As soon as the mountains disappeared from my peripheral vision, my instructor and I realised that visibility was not 9 kilometres, as we had initially projected, and I could only see what was in front of us by looking downwards.

The only visibility I had was of the ground below, including the roads, trees and buildings of Tai Po. I looked back and realised that our only escape route back to the airfield would be obscured if we kept going. Just as I was about to turn back, it became apparent that my instructor had the same idea in mind. “Bring us back,” he said.

Returning through the mountain gap

The direction indicator on that particular Cessna 172 was somewhat defective. This meant I started my timer on my watch and began a rate one turn to the left. I timed for 1 minute, which at 3 degrees a second would be a full 180-degree turn. Fortunately, the mountain gap remained in view this entire time and I instinctively throttled up to return quickly. We were pushed even lower as we entered the airfield airspace, finally descending to 1300 feet. It was very uncomfortable watching the mountains on either side of me come so painfully close.

Lessons learnt

Of course, we were fortunate that despite this being a VFR into IMC incident. The visibility was still sufficient for a safe turn-back manoeuvre.

Among the contributing factors to the success of this was the expertise of my instructor, who holds a restricted instrument rating in the UK, and the fact that at this time I had already completed an hour of instrument flight training. A serious lesson in how flying critical incidents can occur.

After landing, and during the debrief, we narrowed the causes down to the ‘get-there-itis’ that occurred as a result of wanting to squeeze more instrument flying time in for me and also the fact that my instructor was instrument-rated and we put such confidence in his expertise. In retrospect, we shouldn’t have even left the ground in the first place.

This flying incident is proof that pilots with any amount of experience can be sucked into this veil of complacency. They then can make decisions which go against rational and safer judgement. It is an incident my instructor and I will both go on to remember.

Safe flying everyone!

Flying-Critical-Incidents
When an aircraft flying under Visual Flight Rules (VFR) enters Instrument Meteorological Conditions (IMC), flying critical incidents can occur.

Thanks to LTF student pilot Howard Lau for contributing this article on how flying critical incidents can occur. For information on our flying courses, email hello@learntofly.edu.au or go to https://drift.me/learntofly/meeting to book a meeting and school tour. You can also get more handy flying tips by clicking below and subscribing to our YouTube channel!

Learn-To-Fly-Melbourne-Youtube-Subscribe-Footer

Final Flight Departure Procedures: Flight Departure Processes Part 3

In this blog series on flight departure processes we have covered engine starts, taxi checks, run-up checks and more. Now it’s time to run through the final flight departure procedures and take to the skies!

Use the TMPFISCH acronym

The proper acronym that applies whenever holding short is TMPFISCH, and it is what I usually use for my operations here in Hong Kong. It goes like this:

T – Trims set to the appropriate take-off position

M – Mixture rich, master on and magnetos on both

P – Primer in and locked (or fuel pump off)

F – Fuel is sufficient for the coming flight and flaps are set

I – Instruments’ Ts and Ps are in the green range

S – Switches (landing and strobe lights on)

C – Controls full and free

H – Hatches secure and harnesses secure

When you do your controls part of this departure check, make sure your box the controls. That means to move the controls in a movement of a box and ensure you have still got adequate freedom of movement. You might have a mile-long taxi, and something might have jammed the controls. Never skip this check as part of your final flight departure procedures.

Deliver your safety brief

You can do the EFATO brief (Engine Failure After Take-Off ) at any stage before the take-off, but I typically do it after run-ups. A typical brief should describe the actions that need to happen in the event of an engine failure at particular stages of the flight, such as:

During take-off

After rotation

Below 200 feet and with runway remaining

Above 200 feet with no runway remaining

Above 700 feet.

The brief goes something like this:

“If we have an engine failure on the ground, we stay on the ground. If we have an engine failure below 200 feet, we land on the remaining runway. If we have an engine failure above 200 feet, we land straight ahead or 30 degrees to the side. If we have an engine failure above 700 feet, we will turn back to find runway X.”

On a standard Cessna or Sling, 700 feet is plenty for a runway turn-back manoeuvre. However, during the turn back you MUST lower the nose to maintain airspeed and limit the angle of bank to 45 degrees. Never attempt a runway turn-back if an engine failure occurs below 700 feet!

Ready to go

You are lined up on the runway, and ready to take to the skies. It’as always an exciting moment for any pilot. However, discipline must be maintained during the final flight departure procedures.

Ensure you are on the correct runway by looking at your directional gyro, which will indicate the proper runway heading. It’s also a good practice to cross-check this reading with the magnetic compass as well. After that, you should triple-check with making sure that the runway numbers are indeed the intended runway. Everything checks out? Good.

Time to fly!

Now the take-off roll can begin. Ensure that your heels are on the floor and that you are controlling rudders only with the balls of your feet; this will ensure that you do not inadvertently apply the brakes! After you complete this, you should use full power – smoothly but with purpose – and count three, one-thousands before going all the way with to full strength.

After full power is applied, check on the RPM. They should be reading at or above the stated minimum static full-throttle RPM. At this stage, you should also check the oil temperatures and pressures and ensure that these are still sitting within the green range. Finally, you should check to ensure that the airspeed indicator is ‘alive’, meaning that it is indicating an acceleration.

At rotation speed, gradually apply back pressure and lift the nose wheel off the ground, allow the aircraft to fly off the runway and then adopt a Vy (best rate of climb) attitude to ensure maximum climb performance. Look outside! Once you are above 300 feet AGL and obstacles are cleared, move the flaps to up and auxiliary fuel pump (if applicable) to off. You should once again check the oil temperatures and pressures.

The result of following the correct final flight departure procedures? A smooth take-off, followed by another safe and beautiful flight!

Thank you to student pilot Howard Lau for contributing this great series on flight departure procedures.

IMSAFE-For-Pilots
With the final flight departure procedures done, it’s time to fly!

Find out what it feels like to take to the sky! Email hello@learntofly.com.au or visit https://drift.me/learntofly/meeting to book a meeting and school tour.

Learn-To-Fly-Melbourne-Youtube-Subscribe-Footer

Flight Pre-Departure Checks: Flight Departure Processes Part 2

In Part 1 of our flight departure processes series, we laid the groundwork to set ourselves up. In this post, we will go through your flight pre-departure checks. This includes engine starts, taxi checks and run-up checks. Following these checks we’ll be heading to the runway.

Perfect priming

Let’s start our flight pre-departure checks with the most important thing. Safety. Crack open the window and say, ‘CLEAR PROP’. Make sure you give people time to stand clear and scan the area before you move on with your other procedures.

Next, place one hand on the throttle and start cranking the starter, but for no longer than ten seconds each time. If the engine does not fire within 10 seconds, stop cranking right away and wait a minute so the starter motor can cool down. Try some light priming when you’re ready to have another go—it works wonders.

When the engine fires, release the starter promptly. If you’re flying a plane with a fuel-injected Lycoming engine, adjust the mixture to full rich.

Green means go

After a successful engine start, you will need to check that the oil pressure is rising (or has correctly risen) into the green range. This is crucial because oil pressure indicates whether metal components in the engine are sufficiently lubricated.

If oil pressure is not within the green range, shut the engine down immediately and report this to the engineer.

As long as the pressure looks good, you can raise the flaps (if left down after pre-flight), turn on the taxi and navigation lights, and turn on the avionics master switch. Only now should you don and adjust your headsets.

Eyes forward

When taxiing, you should aim to minimise the time you spend with your head down – literally so you don’t bump into anything.

It has become normal for pilots to use GPS devices and iPads (used to run apps like OzRunways) in the cockpit. It is ironic, therefore, that when we attempt to program devices while taxiing we put ourselves at risk of having an accident.

The only exception I make to this rule of my flight departure process is to check the turn instruments. I like to quickly glance down and ensure that:

The slip ball is deflecting properly

The turn coordinator is indicating correctly

The direction gyro turns in the proper direction

The attitude indicator stays erect

The magnetic compass turns in the proper direction.

Remember the CIGAR acronym

I like to do my run-up checks using the acronym ‘CIGAR’. Here is how it works:

Controls – full and free and control surfaces deflect correctly

Instruments – all in the green range, the ammeter is charging and the suction is in the green range

Gas – check the mixture and fuel selector

Airframe – secure the canopy, doors and windows, and make sure your parking brake is on

Run-up – set the correct run-up RPM, check the brakes, check the magnetos, note when the RPM drops (on the Sling with the 912iS engine, one must check that both engine fuel pumps are working), pull the throttle to idle and ensure the engine does not seize at idle

After the run-up, the engine should be set to the ground idle speed as recommended in the POH.

Thank you to student pilot Howard Lau for contributing this great series on flight departure procedures. Stay tuned for the third and final instalment coming soon, as we head to the runway!

Flight-Pre-Departure-Checks
CLEAR PROP! Safety comes first when completing your flight pre-departure checks.

Find out what it feels like to take to the sky! Email hello@learntofly.com.au or visit https://drift.me/learntofly/meeting to book a meeting and school tour.

Learn-To-Fly-Melbourne-Youtube-Subscribe-Footer

Flight Departure Processes: Part 1 of 3

With so many other things in life, it’s easy enough for you to just remember something once you know it. Then it’s no problem to repeat it. Like driving. But flying is different. There are checklists and acronyms (and more checklists) for a reason. There are far more safety considerations when you are flying, and following the right flight departures processes will help to ensure you have a smooth and safe flight, every time.

Walk the walk

A successful and safe flight begins before you even turn on the master switch. It all starts on the tarmac as you approach the aircraft. Your flight departure processes should involve asking yourself lots of questions:

Are the tie-downs done properly?

Are the tyres inflated correctly?

Is there any pink hydraulic fluid around the aircraft?

Is there any blue fluid around the aircraft reminiscent of Avgas?

It has been scientifically proven that asking yourself questions is the most effective way to stay in the loop of information.

Feel the wind

You should not only ask yourself about the aircraft or about the ‘now’ but also ask questions that will bring into effect a successful take-off. Personally, I like to ask myself these:

Should I use flaps or not?

What technique will I use for these conditions? Short field or normal?

Should I delay my rotation for density altitude, load or gusts?

What crosswind correction should I be using during taxi and initial roll?

These questions really are the basis for me completing smooth and safe flight procedures. They help me make sure I’m always ready to respond to new information. On that note, try to make sure you always pay attention to your surroundings. Feel the wind, look at the windsock, listen to the wind and feel the temperature on your skin. Forming attentive habits and looking out for these cues will allow you to prepare for a better flight.

Take it easy

After a normal interior and exterior pre-flight check has been completed, and the aircraft is confirmed to be in safe working order, we can proceed to the engine start. My secret tip is don’t rush!

I’ve had the fortune to fly with the training captain of a major airline in Hong Kong, who is also a tailwheel aircraft instructor and aerobatic pilot. He said these wise words I will never forget, ‘Don’t rush because if you rush you will kill yourself one day.’ I could not believe the severity of his words given his experience in aviation! Needless to say, I listened to his advice.

Get ready for ignition

Before I start the engine, I like to plug in the key, and with the master switch off, I rotate the key to start and then release it. The key should immediately snap back to the both position. This is a simple pre-start ignition check that I learned during my time as an aircraft maintenance intern in Hong Kong.

What this check does is make sure that the starter motor does not engage when the master switch is off, the key locks into position properly and the spring mechanism works.

Prepare the cabin

With the pre-start ignition check completed, I check the cabin. This is when you should adjust your harnesses and seats to your satisfaction, and keep a window or the canopy open. After ensuring that the propeller area is clear, flip on the beacon light switch and the master switch.

Look at your ammeter—it should show a discharge. Check your oil temperature to gauge the amount of priming required or (if it’s the Rotax 912ULS equipped Sling 2 or the Bristell at Learn to Fly) the use of choke. Ensure all circuit breakers are in and the avionics master switch is off.

Wait for it

One of my pet peeves at this stage is pilots who don their headsets before the engine has started. What if someone was trying to get your attention about an unfolding emergency? With the headset on, you wouldn’t be able to hear them. Instead, remove the headset from the dashboard and put it on your lap so you can have maximum visibility out of the windscreen.

An unwritten rule

Set the fuel selector in accordance to the POH and prime as required. After priming, ensure the primer pump is in and locked or, alternatively, that the auxiliary fuel pump is off. If the plane has a fuel-injected Lycoming machine, check that the mixture is set to full rich. If you’re ever in doubt, start with no prime. This will avert the possibility of flooding the cylinder heads due to excessive priming.

Thank you to student pilot Howard Lau for contributing this great series on flight departure processes. Stay tuned for the next part, where we run through flight pre-departure checks.

Flight-Departure-Processes-Female-Pilot
Getting your flight departure processes right ensures the safest start to your flight.

Find out what it feels like to take to the sky! Email hello@learntofly.com.au or visit https://drift.me/learntofly/meeting to book a meeting and school tour.

Learn-To-Fly-Melbourne-Youtube-Subscribe-Footer